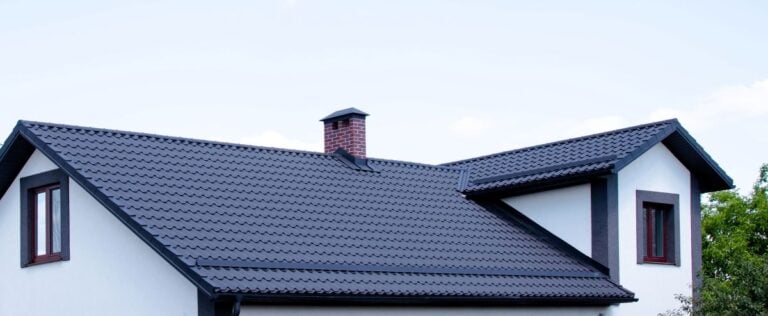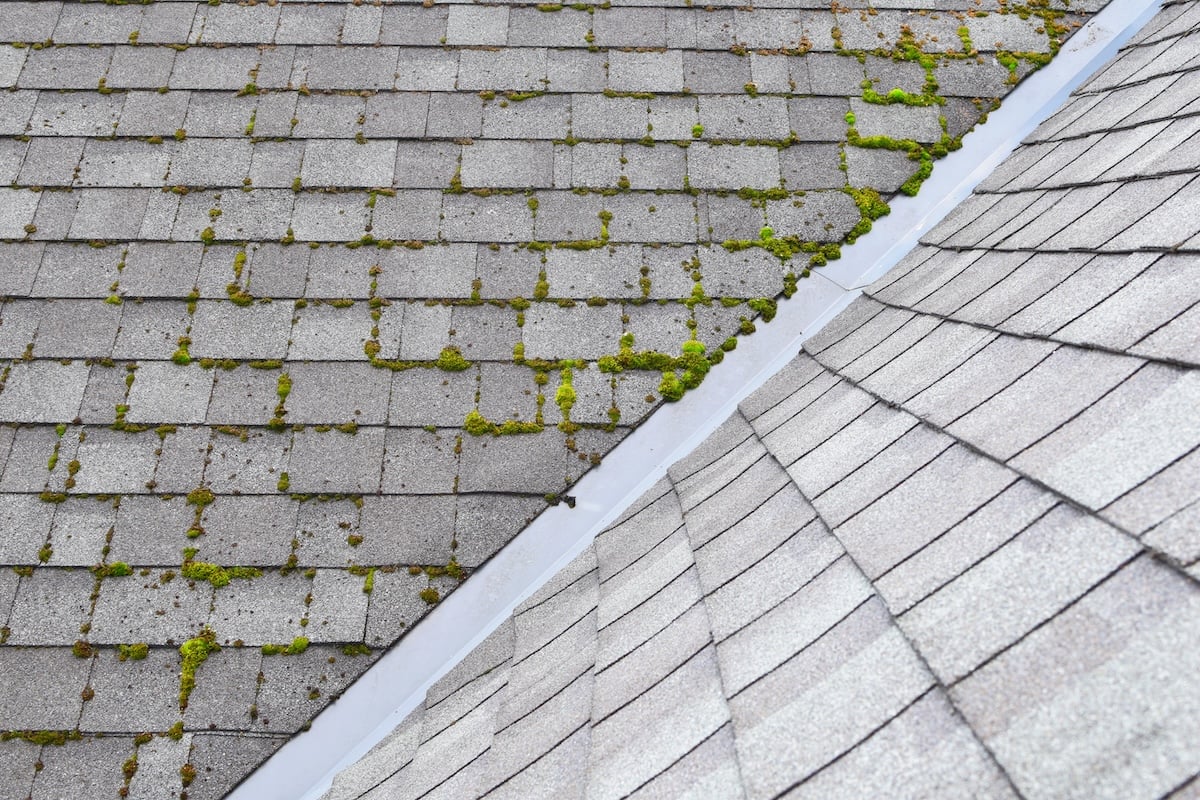
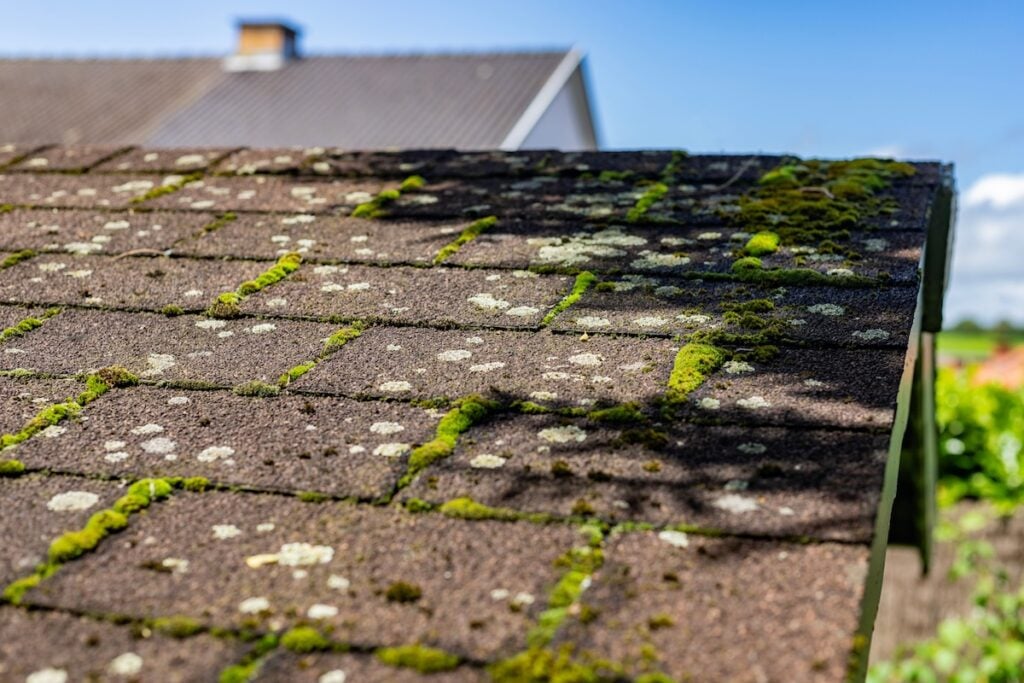
A mossy roof might seem picturesque, but those green patches could spell trouble for your home. Moss retains moisture, which can damage shingles, cause leaks, and lead to expensive repairs if left untreated. Fortunately, with the proper techniques and preventative measures, you can protect your roof from moss build-up and keep it in top condition year-round.
This guide will cover:
- Why moss grows on rooftops
- 5 essential tips for removing moss on roof
- Preventing moss regrowth
🤔 Why Does Moss Grow on Roofs?

Moss thrives in damp, shaded environments with plenty of moisture, making rooftops with shaded areas or poor drainage ideal breeding grounds. Lack of sunlight, fallen debris from nearby trees, and aged roofing materials can further encourage moss growth. While moss may appear harmless, it can wreak havoc on your roof if left unchecked.
Why Moss on Roofs Is a Problem
While it starts as a cosmetic issue, moss can quickly escalate into a more serious problem:
- Moisture Retention: Moss traps moisture against your shingles, speeding up wear and tear.
- Shingle Damage: Over time, moss can grow underneath shingles, causing them to lift and crack.
- Leaks and Water Damage: With compromised shingles, your roof becomes more vulnerable to leaks.
- Weight Strain: Thick moss adds extra weight to your roof, which could strain the structure over time.
💡 5 Essential Tips for Removing Moss from Your Roof
When it comes to removing moss, using the correct method is crucial to preserve the integrity of your roof. Follow these steps for a safe and effective moss-cleaning process:
1. Gather the Right Tools
Before you begin cleaning your roof, it’s essential to gather all the necessary tools and materials to ensure the process goes smoothly and effectively. You’ll need a soft-bristle brush or broom, which will allow you to sweep away moss gently without causing damage to your shingles. Additionally, a non-toxic moss removal solution is critical to eliminate moss without harming the environment or damaging your roof. Lastly, a sturdy ladder equipped with proper safety equipment, such as stabilizers or fall protection gear, is crucial for safety. Avoid using pressure washers at all costs, as their high pressure can strip away the protective layers on your shingles and cause unnecessary damage to your roof.
2. Prepare Your Work Area
Before you start working on your roof, take the time to prepare the area around your home to avoid any unintended damage or accidents. Begin by ensuring that the space surrounding your house is safe and free from obstacles. Cover any plants, shrubs, or landscaping that sit below your roof with tarps or protective sheets, as some cleaning solutions, even when labeled non-toxic, may harm vegetation. Safety should be your top priority, so always wear non-slip shoes for better grip and stability when working on the roof. Make sure your ladder is securely positioned and that you’re using a ladder stabilizer or a spotter to hold it steady. Taking these precautions will not only protect your home’s surroundings but also ensure your personal safety throughout the process.
3. Remove Loose Moss Gently
Once you’re ready to begin, start by removing any loose moss from the surface of your roof. Use a soft-bristle brush or broom to sweep away the moss gently. Always work in the direction of the slope of your roof, brushing downward rather than upward. This method prevents damage to the shingles and helps maintain the structural integrity of your roof. Avoid scrubbing too hard or using excessive force, as this can strip away the protective granules on the shingles, leaving them more vulnerable to wear and tear. Patience and a delicate touch are key during this step to ensure your roof remains in good condition while the moss is removed.
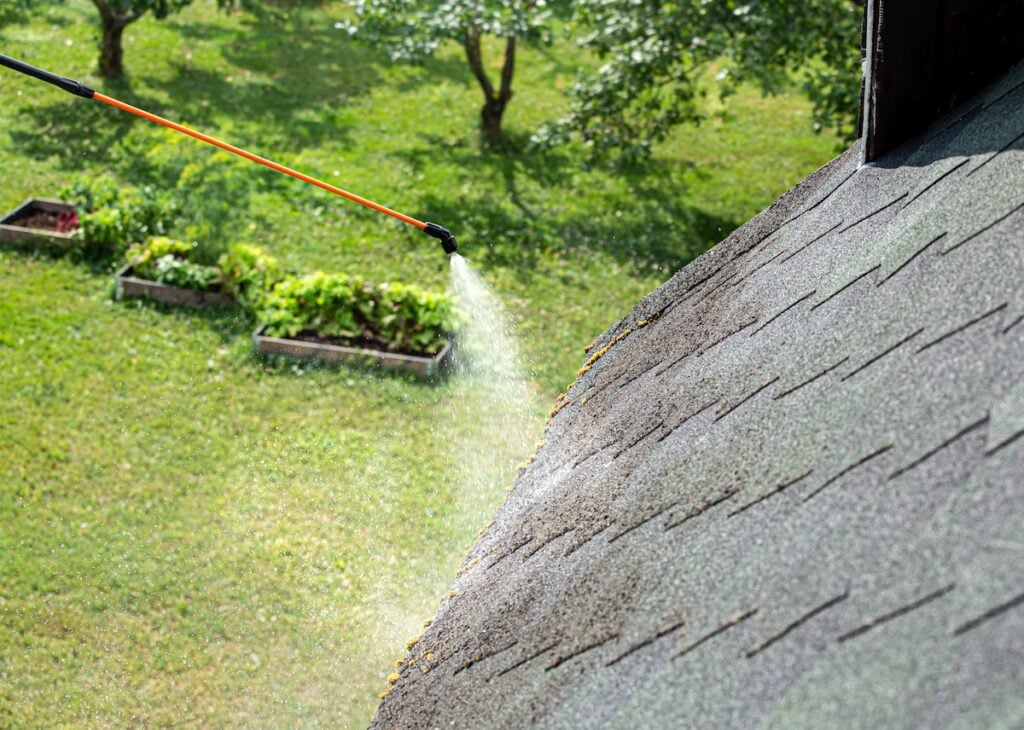
4. Apply a Moss Removal Solution
After removing loose moss, it’s time to apply a moss removal solution to tackle any remaining growth and prevent it from returning. Choose a non-toxic, eco-friendly product specifically designed for roofs to ensure it won’t harm the environment, your roof, or nearby plants. Using a garden sprayer, evenly apply the solution across the areas affected by moss. Make sure to carefully follow the manufacturer’s instructions for the proper dilution and application process. Allow the solution to sit on the roof for the recommended amount of time to fully kill the moss and loosen its grip on the surface. This step is essential for thorough moss removal and long-term prevention.
5. Rinse and Inspect
Once the moss removal solution has had time to work, rinse your roof thoroughly with a garden hose. Avoid using a pressure washer, as the high-pressure stream can damage shingles and compromise the integrity of your roof. Focus on rinsing all areas where the moss removal solution was applied to ensure no residue is left behind. After rinsing, carefully inspect your roof to confirm that all moss has been removed. Look closely for any signs of damage, such as cracked or missing shingles, that may require repair. Addressing these issues promptly will help maintain the health and longevity of your roof. Regular inspections and maintenance will go a long way in keeping your roof in excellent condition.
🔎 How to Prevent Moss from Returning
Once your roof is moss-free, it’s important to prevent regrowth. Here are some tips to keep your roof protected:
Trim Overhanging Trees
Overhanging tree branches not only block sunlight but also drop leaves, twigs, and other debris directly onto your roof. This debris traps moisture, creating a perfect environment for moss to thrive. Additionally, the shade from the branches reduces the amount of sunlight your roof receives, allowing moss to grow unchecked. By trimming back these branches, you allow more sunlight to reach your roof, helping to keep it dry and less conducive to moss growth. Make sure to regularly inspect the trees around your property and keep them pruned to minimize debris and shading.
Install Zinc or Copper Strips
Zinc and copper are natural moss inhibitors and can be extremely effective at keeping your roof moss-free. By installing zinc or copper strips along the ridgelines of your roof, rainwater will carry trace amounts of these minerals down the surface of your shingles. This creates an environment where moss is less likely to grow. Over time, these strips can significantly reduce moss buildup without requiring harsh chemicals. Be sure to install them properly or consult a professional to ensure that they’re securely in place and effective.
Clean Your Roof and Gutters Regularly
Debris like leaves, branches, and dirt not only clutters your roof but also traps moisture, which can lead to moss growth. Regularly cleaning your roof removes this debris and helps maintain a dry surface, which moss cannot survive on. Similarly, clogged gutters can hold water, allowing moisture to back up onto your roof. By keeping both your roof and gutters clear, you reduce the likelihood of moss and other water-related issues. Schedule seasonal cleanings to stay ahead of any build-up and consider investing in gutter guards to prevent debris from accumulating.
Improve Roof Ventilation
Poor ventilation in your attic or roofing system can lead to high moisture levels, creating the perfect conditions for moss to thrive. Proper roof ventilation helps regulate temperature and moisture, reducing dampness that encourages moss growth. Check your attic vents and ensure air is circulating freely. In some cases, you may need to install additional ventilation systems to improve airflow and minimize moisture buildup. A well-ventilated roof isn’t just good for preventing moss growth—it can also extend the lifespan of your roofing materials.
Schedule Regular Inspections
Even with preventative measures, moss can sometimes start to develop unnoticed. Scheduling regular roof inspections with a professional ensures that any early signs of moss growth or other issues are identified and addressed before they become bigger problems. A professional can spot areas prone to moss, suggest specific solutions, and provide maintenance tips tailored to your roof. Inspections are also a good opportunity to catch other potential roofing concerns, such as leaks, damaged shingles, or drainage issues. Make it a routine part of your home maintenance schedule to protect your roof in the long term.
🏡 Moss Roof Solutions
When it comes to protecting your roof from damaging moss growth, Roof Troopers is the team you can trust. With licensed and insured professionals, transparent communication, and expert craftsmanship, we’re dedicated to keeping your home safe and your roof in top condition.
Don’t let moss compromise the integrity of your roof—schedule a no-obligation inspection today and let us provide a reliable solution tailored to your needs. Contact Roof Troopers now to get started!
Don’t pay for your roof until 2027!
0% APR, same as cash for 24 months
Get Started Today!
"*" indicates required fields