
Water is one of the most damaging forces a home can face, and a well planned gutter installation is one of the simplest ways to keep it moving away from your foundation instead of pooling around it. Getting the details right from the start, from sizing to placement, makes a bigger difference than most homeowners expect, and it pairs naturally with the rest of a home’s exterior protection in ways that are easy to overlook until a heavy storm rolls through. A system that looks fine from the ground can still be poorly sized or angled underneath, which is why understanding the process matters even for homeowners who plan to hire out the work entirely.
Here’s what this guide walks through:
- Why gutters matter more than most homeowners realize
- The main steps involved in a proper installation
- Materials and styles worth considering
- How gutters compare to other drainage options
- Answers to common installation questions
Why Gutters Deserve More Attention Than They Get
Gutters are easy to ignore until something goes wrong, but they play a bigger role in protecting a home than their simple design suggests. Without a functioning system directing water away from the house, even a well built roof and solid foundation can develop problems over time, especially in homes throughout Fairfax and surrounding areas that see their share of heavy seasonal rain.
- Foundation protection: Redirecting water away from the base of the home helps prevent cracking, shifting, and long term settling issues.
- Basement and crawl space defense: Properly routed water reduces the risk of moisture seeping into lower levels of the home.
- Landscaping preservation: Controlled drainage keeps heavy rainfall from eroding soil, washing out mulch, or damaging plants near the house.
- Siding and exterior wall protection: Directing water away from walls helps prevent staining, rot, and long term wear on exterior materials.
A properly installed system does all of this quietly in the background, which is exactly why it is so easy to take for granted until a clog, sag, or gap starts sending water in the wrong direction. Many homeowners only start paying attention once they notice a damp basement corner or eroded flower bed, at which point the underlying gutter problem has often existed for a while.
4 Steps Involved in a Proper Gutter Installation
Installing gutters correctly involves more than simply attaching channels along the roofline. Each step affects how well the finished system performs, particularly during the intense storms that Fairfax and surrounding areas can experience throughout the year.
1. Measuring and Planning the Layout
Before any material goes up, a proper installation starts with measuring the roof’s length to determine accurate gutter sizing and mapping out the slope needed to keep rainwater flowing toward the downspouts. Roof pitch, fascia condition, rafter tails, and the number of corners all factor into this planning stage, and a chalk line is often used to mark a consistent slope before the first piece goes up.
- Slope calculations aim for roughly ⅛ inch of drop per foot of gutter run toward the downspout
- Existing fascia boards are inspected for rot or damage, since brackets fastened into weak wood lead to costly repairs later
2. Selecting the Right Gutter Size and Style
Not every home needs the same size rain gutters. Roof size, average rainfall, and the number of downspouts all influence what size and style will actually provide proper drainage. Aluminum gutters remain one of the most common choices for residential homes, though the final decision often comes down to budget alongside a handful of other important factors.
As a rough guide, gutter installation typically runs somewhere between $2 and $6 per linear foot depending on material and style, though the exact cost depends on the home’s specific layout.
3. Installing Hangers and Securing the Channels
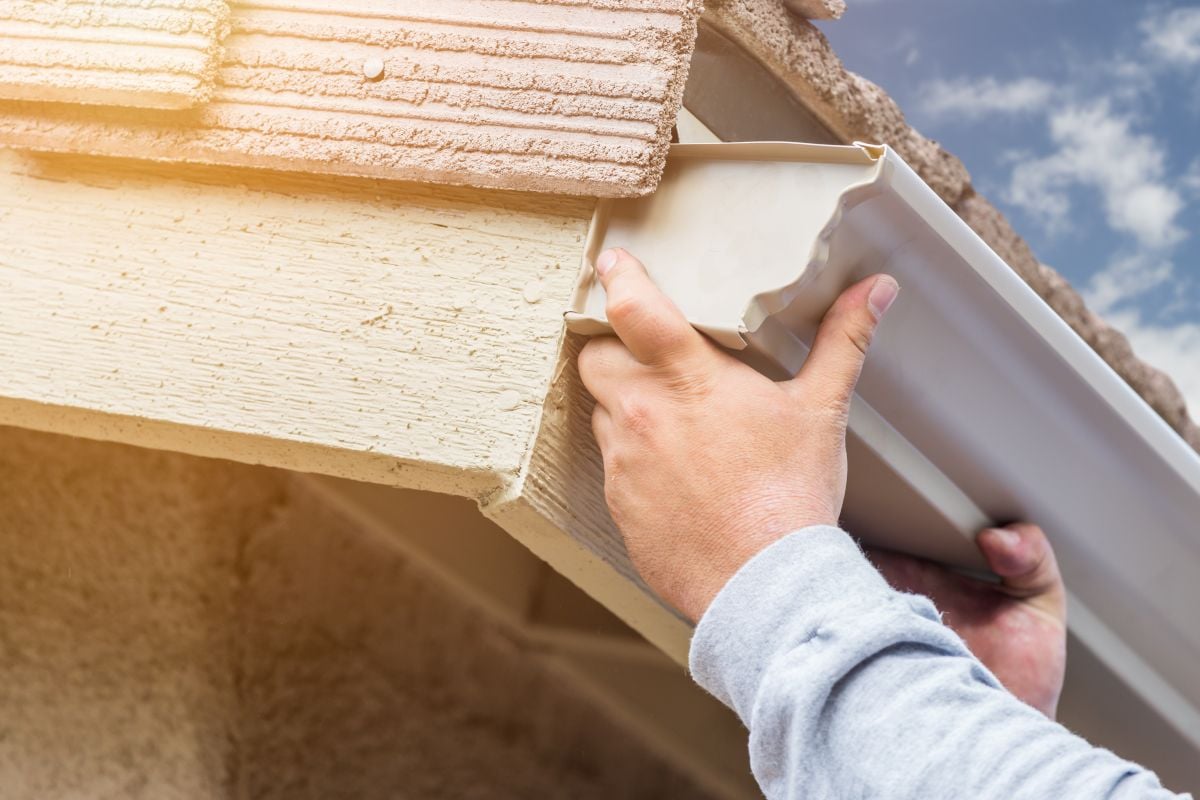
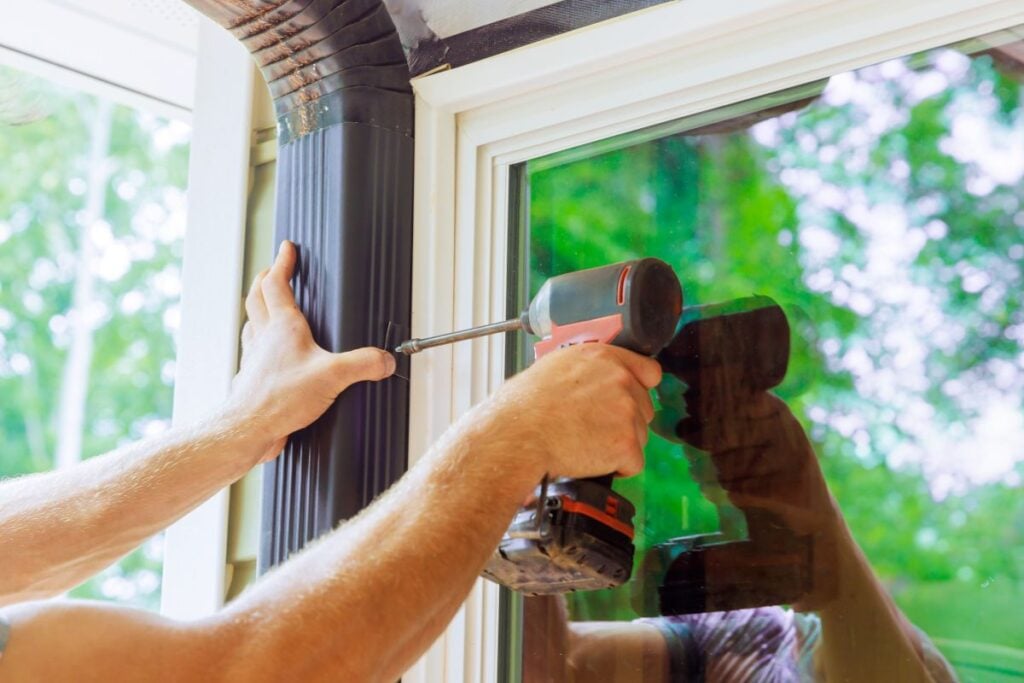
Fascia brackets and hangers are spaced evenly along the fascia to support the weight of the gutters, especially once they fill with water during a storm. Proper spacing prevents sagging over time, and safety equipment such as gloves and a stable ladder matters just as much as the hardware when working at height.
- Hangers are typically placed every 24 to 36 inches, spaced closer together where extra support is needed
- Each screw mounting hole is set with sheet metal or stainless steel screws driven with a drill, with lag screws used where extra holding strength is needed
- Sections are cut to length with tin snips or a hacksaw, joined with a strip miter at corners, and bent slightly to follow the roofline
- End caps and pop rivets close off the ends of the run, with sealant applied at corners and seams to prevent leaks
4. Adding Downspouts and Extensions
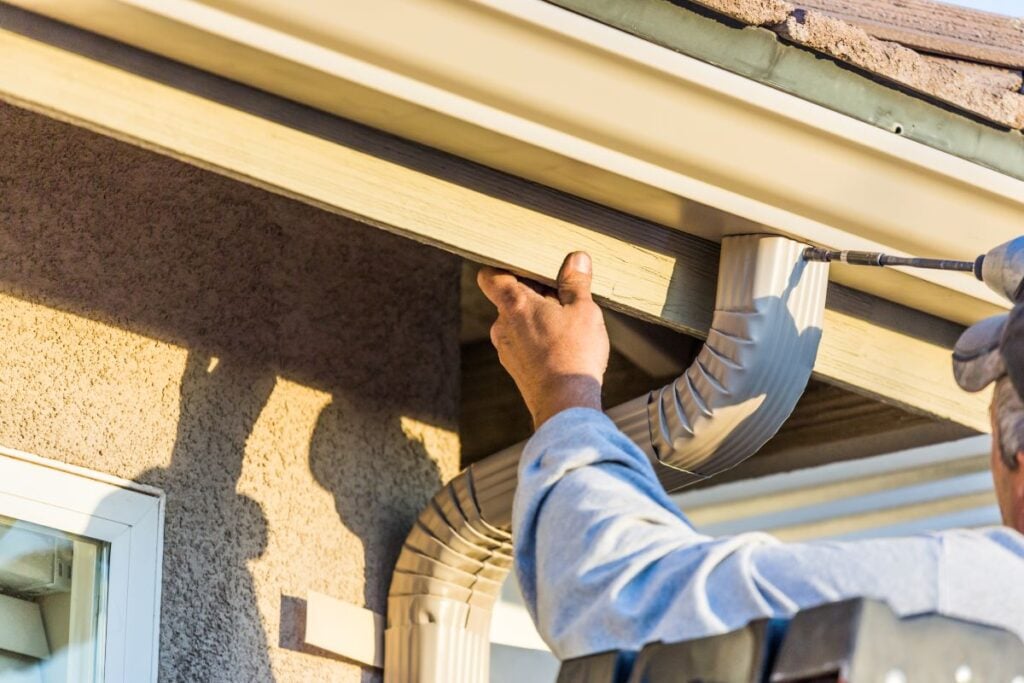
The final step involves determining downspout location at calculated intervals, generally following a guideline of one downspout for every 30 to 40 feet of gutter, and directing them away from the foundation using extensions or splash blocks. This step is often where poorly planned systems fail, since water dumped too close to the house defeats the purpose of the entire system.

- Downspout placement should account for existing landscaping and walkways
- Extensions help move water several feet further from the foundation
Each of these steps builds on the one before it, which is why a rushed installation often leads to problems within the first year or two. Once everything is fastened in place, testing the system by running water through the gutters helps confirm proper flow and reveals any blockages or weak seams. Taking the time to plan the layout properly at the start tends to save homeowners from costly repairs later, and a professional installation can help ensure the work is done to a consistent standard from start to finish.
Choosing the Right Materials and Style
Gutter materials and shapes affect both performance and appearance, and the right choice often depends on the home’s design, budget, and how much maintenance a homeowner is willing to take on. Understanding the tradeoffs upfront helps avoid a mismatch between expectations and the finished product.
- Aluminum: Lightweight, resistant to rust, and one of the most common choices for residential homes due to its balance of cost and durability.
- Steel: More durable against impact and heavy snow loads, though it requires more attention to prevent rust over time.
- Vinyl: An affordable option that resists corrosion, though it can become brittle in extreme temperature swings.
- Copper: A premium choice known for its appearance and longevity, often chosen for homes where curb appeal is a priority.
Beyond material, style matters too. K-style gutters offer a decorative front edge and tend to hold more water, while half-round gutters have a smoother, semi-circular cross-section that some homeowners prefer for reduced clogging and are often made from copper or galvanized steel. Box gutters, which sit closer to the roofline, are ideal for flat or low sloped roofs where a standard hanging gutter would not perform as well. Choosing between these options usually comes down to the home’s architecture and the homeowner’s maintenance preferences.
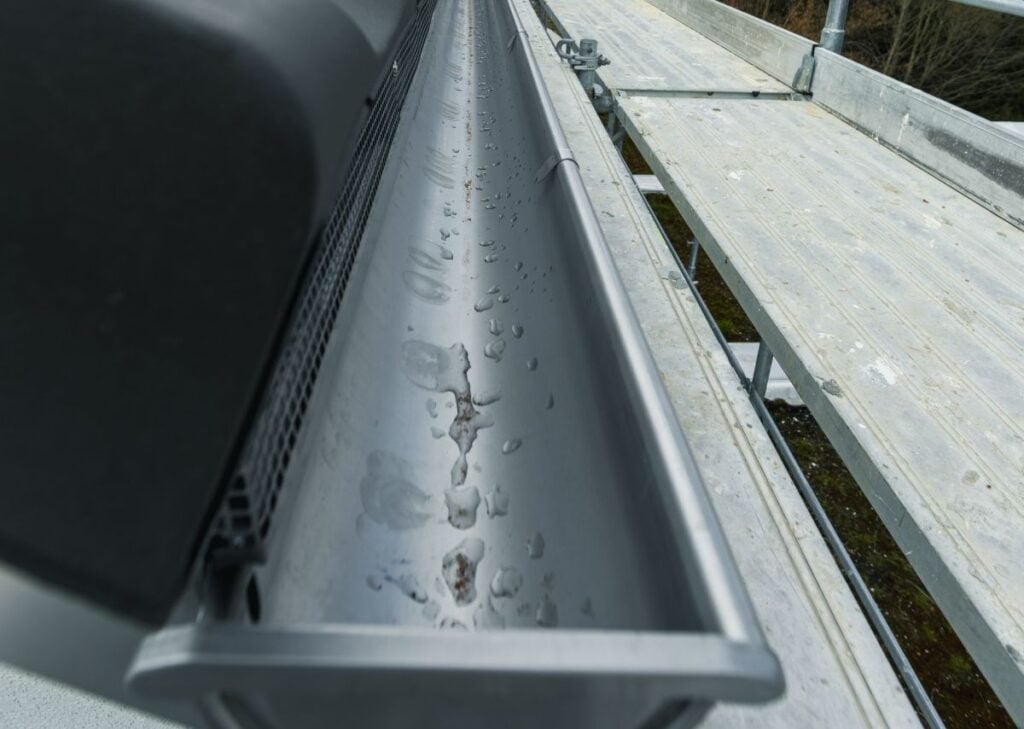
Seamless gutters have also become a popular option for homeowners who want to minimize leak points along the run. Because they are custom formed on site to match the exact length of a roofline, there are far fewer joints where debris can collect or water can slowly work its way through over time. This tends to reduce long term maintenance, even though the upfront cost is typically a bit higher than sectional gutters purchased in standard lengths.
Gutters vs. Gutter Guards: What’s the Difference?
Many homeowners wonder whether a fresh installation should be paired with gutter guards from the start, or added later once the system is in place. Both approaches have advantages depending on the property’s surroundings and how much debris the roofline typically collects.
| Factor | Gutters Alone | Gutters with Guards |
| Maintenance frequency | Cleaning needed several times a year | Cleaning needed much less often |
| Upfront cost | Lower initial investment | Higher initial investment |
| Performance near trees | More prone to clogging | Better protection against leaves and debris |
| Ice dam risk in winter | Can vary by climate | Depends on guard type and installation |
| Long term maintenance cost | Higher over time near heavy tree cover | Lower over time in most cases |
Homes surrounded by mature trees in Fairfax and surrounding areas tend to benefit the most from adding guards early, while homes with less overhead coverage may do just fine with a standard system and a regular cleaning schedule. There is no universal right answer, since the best setup depends heavily on the specific property.
Frequently Asked Questions About Gutter Installation
These are some of the most common questions homeowners ask before moving forward with a new gutter system. If a specific situation isn’t addressed here, a direct consultation is usually the fastest way to get a clear answer.
How long does a typical gutter installation take?
Most residential installations can be completed in a single day, though larger or more complex rooflines may take slightly longer.
Can new gutters be installed over an existing roof?
Yes, gutter installation is typically done after the roof is already in place, and does not require any changes to the roofing material itself.
How often should new gutters be cleaned?
Most homes benefit from cleaning at least twice a year, though homes near heavy tree cover may need more frequent attention. It also helps to inspect gutters after major storms for blockages or damage, since debris and fallen branches can build up quickly during severe weather.
Do gutters need to match the roof or siding color?
Not necessarily, though many homeowners choose a color that blends with the fascia or trim for a more finished look. Some prefer a contrasting color instead, especially when the gutters are a more visible design feature along the roofline.
What signs indicate gutters need to be replaced rather than repaired?
Frequent leaks at multiple seams, visible rust or corrosion, pulling away from the fascia, and cracks that keep reappearing after patching are all signs that replacement may make more sense than continuing with ongoing repairs.
Taking the time to ask these questions upfront tends to lead to a smoother installation and fewer surprises down the road, especially for homeowners who are replacing an aging or poorly performing system for the first time.
Protect Your Home With the Right System
A properly installed gutter system does more than move water off a roof. It protects the foundation, siding, and landscaping that make a house feel like home, and it does so quietly for years when installed correctly the first time.
Roof Troopers works with homeowners throughout the region to design and install gutter systems suited to their specific roofline, climate, and maintenance preferences. If your current system is showing signs of wear, or you are planning ahead for a new installation, contact us today to talk through the best options for your home.
Don’t pay for your roof until 2027!
0% APR, same as cash for 24 months
Get Started Today!
"*" indicates required fields