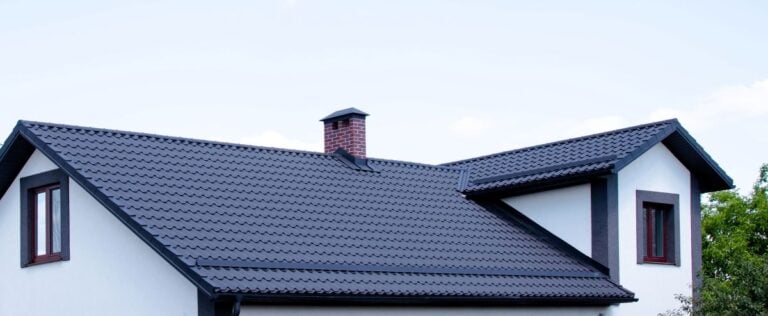
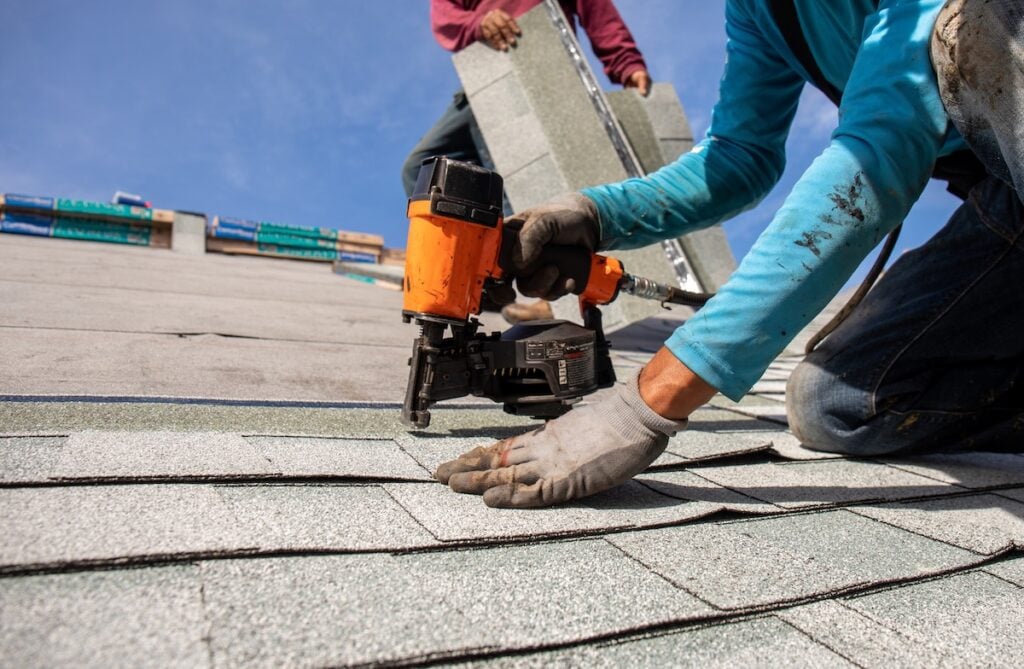
If you have noticed raised shingles or small bumps on your roof, you may be dealing with nail pops on roof surfaces. While they can seem minor, these small issues often signal deeper problems that can lead to leaks and structural damage. At Roof Troopers, we regularly help homeowners in Alexandria and surrounding areas address roofing concerns before they escalate, whether through routine inspections or full roof evaluations available on our roofing solutions page.
In this guide, you will learn:
- What nail pops are and why they happen
- The most common causes behind them
- How professionals fix the issue properly
- When nail pops signal a bigger roofing problem
- How to prevent them in the future
Why Nail Pops Matter More Than You Think
Nail pops are not just cosmetic imperfections. They are often early warning signs that your roofing system is under stress. When nails back out of the decking, shingles can loosen, creating entry points for moisture and wind.
Left untreated, even a single raised nail can compromise surrounding shingles and underlayment. For homeowners in Alexandria and surrounding areas, where seasonal temperature swings and storms are common, small vulnerabilities can quickly turn into expensive repairs.
Here is why addressing nail pops early is so important:
- Leak Prevention: Raised nails push shingles upward, allowing water to seep underneath during rainstorms.
- Wind Resistance: Loose shingles are more vulnerable to being torn off during high winds.
- Extended Roof Lifespan: Early repairs prevent widespread deterioration of surrounding materials.
- Structural Protection: Moisture intrusion can damage decking and attic insulation over time.
- Warranty Compliance: Ignoring visible issues may impact certain manufacturer warranties.
Catching nail pops early keeps a minor repair from becoming a major roofing project.
5 Common Reasons For Nail Pops
Understanding why nail pops occur helps homeowners know whether they are facing a simple fix or a symptom of a larger issue. Below are the five most common causes.
1. Natural Expansion and Contraction
Roofing materials expand in heat and contract in cold temperatures. Over time, this constant movement can cause nails to loosen and gradually work their way upward.
In areas like Alexandria and surrounding areas, seasonal temperature shifts can be significant enough to accelerate this process. When the roof deck expands and contracts repeatedly, fasteners may lose their grip.
Additional factors that worsen this:
- Poor attic ventilation
- Dark shingles absorbing excessive heat
- Rapid temperature swings
2. Improper Installation
Incorrect nailing during the original installation is one of the leading causes of nail pops. Nails that are overdriven, underdriven, or placed outside the manufacturer’s recommended nailing zone are more likely to loosen.
Common installation mistakes include:
- Using smooth nails instead of ring shank nails
- Missing the roof decking entirely
- Failing to use the proper number of fasteners per shingle
A professionally installed roof reduces the risk of premature nail failure significantly.
3. Inadequate Ventilation
Poor attic ventilation creates excessive heat and moisture buildup beneath the roof deck. This trapped heat can warp decking and weaken nail grip over time.
Signs of ventilation issues may include:
- High attic temperatures
- Mold or mildew growth
- Ice dams during winter
When ventilation is corrected, it not only reduces nail pops but also improves overall roof performance.
4. Aging Roofing Materials
As roofs age, shingles become brittle and less flexible. Nails that once held firmly may begin to shift as materials deteriorate.
Older roofs are more likely to show multiple nail pops across various sections. If your roof is nearing the end of its expected lifespan, recurring nail pops may signal that replacement should be considered rather than repeated spot repairs.
5. Decking Movement or Structural Shifts
If the roof decking shifts due to settling, moisture damage, or structural movement, nails can back out as the wood changes shape.
Warning signs of decking issues include:
- Soft spots when walking on the roof
- Visible sagging areas
- Repeated nail pops in the same section
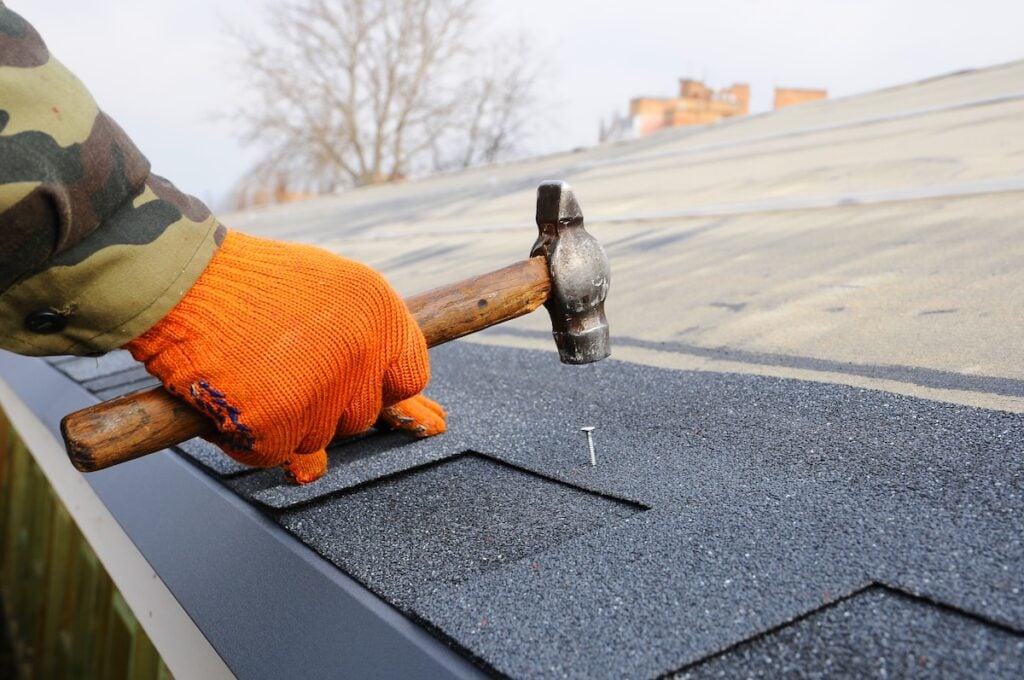
In these cases, simply hammering the nail back down will not solve the underlying issue.
How Roofers Fix Nail Pops Properly
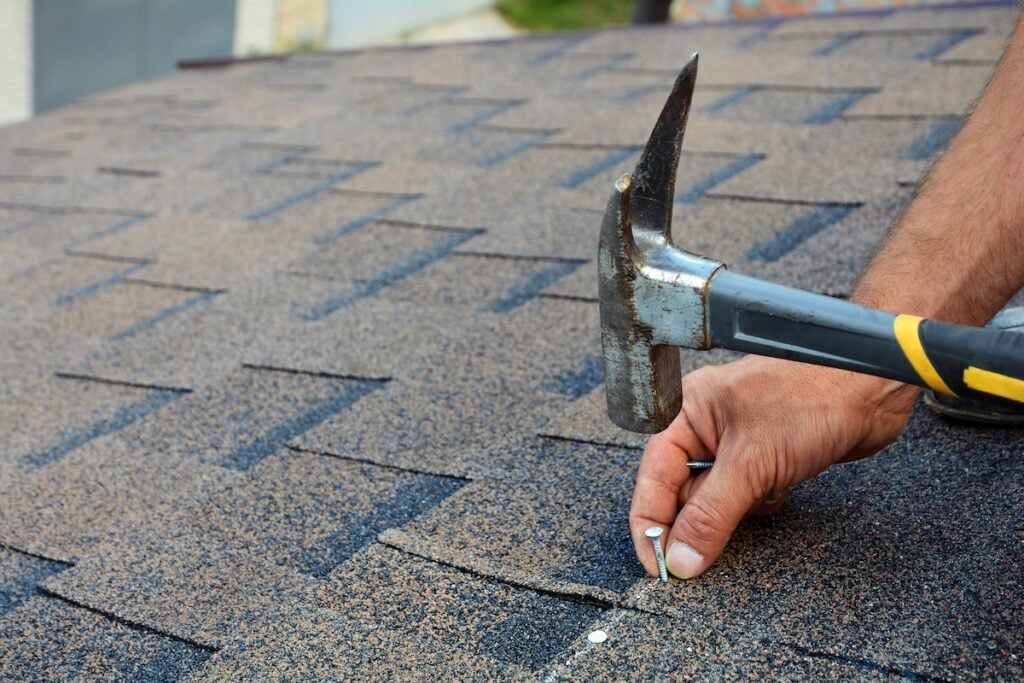
Repairing a nail pop is not as simple as hammering the nail back into place. In fact, doing so often leads to the problem recurring. A professional repair addresses both the visible symptom and the root cause.
Here is how experienced roofing crews approach the repair process.
Inspection and Assessment
The first step is a thorough roof inspection. Professionals determine whether the nail pop is isolated or part of a larger pattern.
They evaluate:
- Shingle condition
- Decking stability
- Ventilation performance
- Signs of water damage
This ensures that repairs address the full scope of the issue.
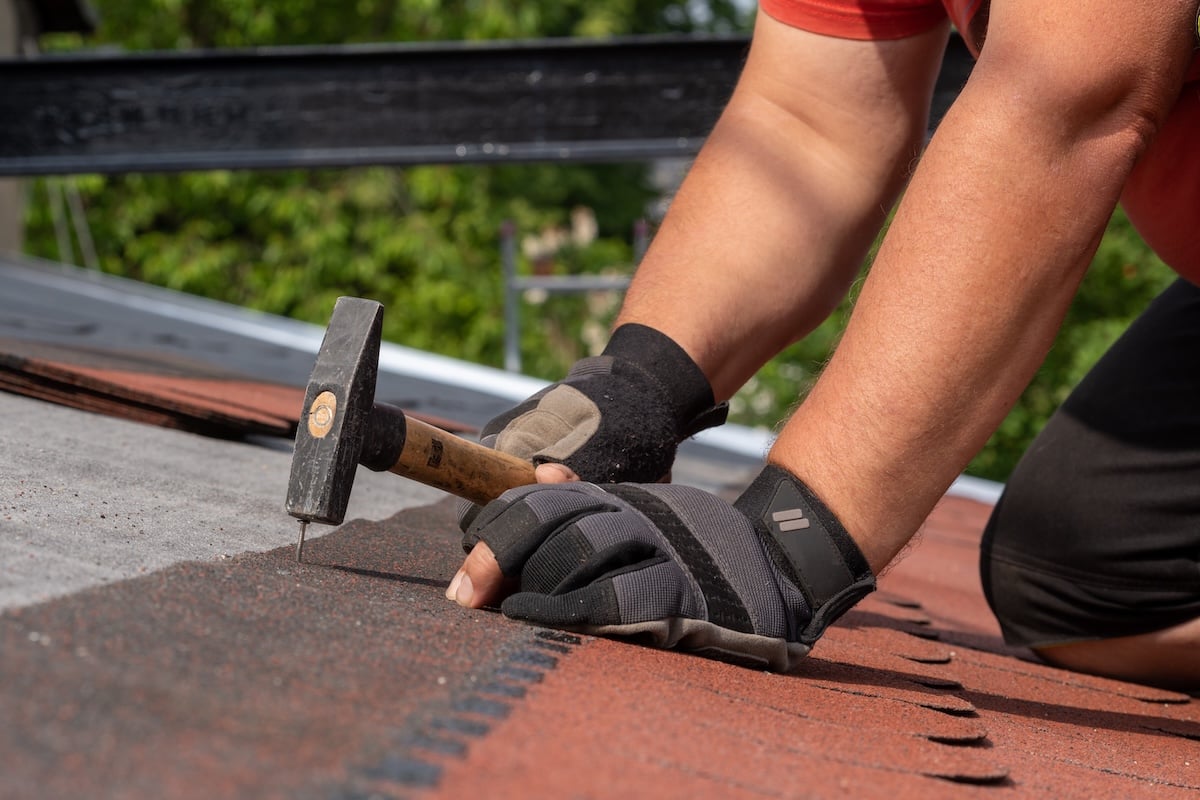
Removing the Compromised Nail
Rather than reusing the same fastener, the backed-out nail is removed entirely. This prevents future loosening and ensures a more secure repair.
The surrounding shingle is carefully lifted to avoid unnecessary tearing or cracking.
Securing the Area with New Fasteners
A new roofing nail is driven into a secure portion of the decking, often slightly offset from the original hole. In some cases, two nails may be used for added reinforcement.
Roofing cement or sealant is then applied to ensure the shingle lies flat and remains watertight.
Replacing Damaged Shingles if Needed
If the shingle has been punctured or compromised, replacement is often the best solution. Installing a new shingle restores full protection and prevents hidden leaks.
Professional repairs are designed to blend seamlessly with the existing roof.
When Nail Pops Signal a Bigger Problem
Sometimes nail pops are isolated and harmless when corrected promptly. Other times, they point to deeper roofing concerns that require more extensive attention.
If you notice multiple nail pops across your roof, it may indicate systemic issues. Widespread fastener failure can result from improper installation practices or significant attic ventilation problems.
Other red flags include:
- Water stains on ceilings
- Increased energy bills
- Curling or lifting shingles
- Soft decking beneath shingles
Homeowners in Alexandria and surrounding areas should not ignore recurring nail pops, especially after major storms. Wind and heavy rain can exploit even small vulnerabilities.
In some cases, repeated nail pops may justify a partial reroof or full roof replacement, particularly if the roof is older or nearing the end of its lifespan.
Repair vs Replacement: How to Decide
Deciding whether to repair nail pops or replace the roof depends on several factors. A qualified inspection provides clarity.
Below is a simple comparison to help homeowners understand their options.
Best Candidates for Repair
- Roof is under 10 to 12 years old
- Nail pops are isolated to a small area
- No signs of decking damage
- Shingles remain flexible and intact
In these cases, a targeted repair is usually sufficient.
When Replacement Makes More Sense
- Roof is approaching 20 years old
- Widespread nail pops across multiple slopes
- Evidence of water intrusion
- Multiple past repair attempts
If repairs become frequent, replacement may offer better long term value.
A trusted roofing professional can provide a clear assessment and honest recommendation based on your roof’s condition.
How to Prevent Nail Pops in the Future
While some causes of nail pops are unavoidable due to aging, many can be minimized with proper care and installation practices.
Prevention begins with quality workmanship and regular maintenance.
- Schedule routine roof inspections to catch early signs of movement
- Ensure attic ventilation meets recommended standards
- Address minor leaks immediately
- Choose experienced installers who follow manufacturer guidelines
For homeowners in Alexandria and surrounding areas, proactive maintenance is especially important due to changing weather patterns and storm activity.
A well-installed and properly ventilated roof dramatically reduces the likelihood of recurring nail pops.
Protect Your Home with Professional Roofing Support
Nail pops may seem minor, but they can open the door to leaks, shingle damage, and structural concerns if ignored. Addressing them early protects your investment and extends the life of your roof.
If you have noticed raised shingles or suspect nail pops on your roof, the team at Roof Troopers is here to help. Our experienced professionals provide thorough inspections and dependable solutions tailored to your home in Alexandria and surrounding areas. Do not wait for a small issue to turn into costly damage. Contact us today to schedule your inspection and get trusted roofing support from Roof Troopers.
Don’t pay for your roof until 2027!
0% APR, same as cash for 24 months
Get Started Today!
"*" indicates required fields