Repairing a roof is a significant task that requires precision and understanding to ensure it is done correctly. One of the most critical aspects of roofing is knowing where to nail shingles during repairs. Proper nailing not only secures the shingles in place but also prevents leaks, wind damage, and other roofing issues. In this comprehensive guide, we will delve into the details of where to nail shingles correctly during roof repairs, covering tools, techniques, and tips to achieve a long-lasting and durable roof.
- Understanding shingle placement and nailing basics
- 8-step guide to nailing shingles
- Tips for successful shingle nailing
- Common mistakes to avoid

Mastering the Art of Nailing Shingles: Tips for Proper Installation
Properly nailing shingles is critical for a secure and durable roof. The placement and number of nails depend on the type of shingle, roof slope, and local building codes. Here’s a comprehensive guide to ensure effective installation.
Nail Placement Guidelines
- Location
- Place nails just below the tar strip, about 1 inch from each edge of the shingle. Space them evenly across the width for maximum security.
- Number of Nails
- Most shingles require 4–6 nails each, depending on the manufacturer and local regulations.
- For steep slopes (over 60 degrees or 21 inches per foot), use six nails for additional stability. For instance, Owens Corning recommends six nails for steep-slope installations.
- Shingle Type
- Sealant on the top: Place nails just below the sealant strip.
- Sealant on the back: Use the manufacturer-indicated lines as a guide for nailing.
- Roof Slope
- Roofs with a steep slope often require more nails for secure installation due to increased wind and gravity forces.
- Building Codes
- Always consult your local building codes to ensure compliance with specific nailing requirements in your area.
Tips for Nailing Shingles
- Choose the Right Nails
- Use galvanized roofing nails with at least 3/8-inch diameter heads to resist rust and provide long-lasting security.
- Drive Nails Straight
- Ensure the nail head is flush with the shingle. Crooked or underdriven nails can compromise the roof’s integrity.
- Avoid Weak Spots
- Do not nail into knot holes, cracks, or gaps in the roof deck.
- Fix Mistakes Immediately
- For underdriven nails: Tap them in flush with the shingle.
- For overdriven or crooked nails: Remove and replace the nail. Fill the hole with roofing asphalt cement to prevent leaks.
Properly nailing shingles ensures a roof that withstands weather and lasts for years. For best results, follow manufacturer instructions and local codes, and don’t hesitate to consult a professional if needed.
🤔 Understanding Shingle Placement and Nailing Basics

Proper shingle placement and nailing are crucial components of a well-executed roofing project. Mastering these basics ensures your roof’s longevity, enhances its resistance to severe weather, and prevents common issues such as leaks and wind damage.
Shingle Types and Their Nailing Requirements
Different types of shingles have specific nailing requirements. The most common types include asphalt shingles, wood shingles, and slate shingles. Asphalt shingles are the most widely used due to their affordability and durability.
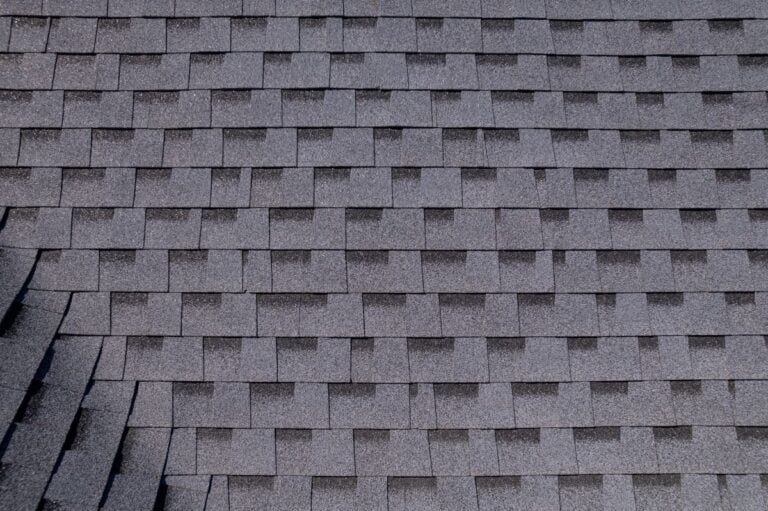
- Asphalt Shingles: Typically, asphalt shingles have nailing lines or guides printed on them. These lines indicate the optimal place to nail. The standard is to use four nails per shingle, but in high-wind areas, six nails per shingle are recommended. Proper nail placement is crucial to secure shingles and prevent common installation errors. Improper shingle nailing, such as overdriven nails or incorrect nail placement, can lead to defects. It is important to follow manufacturer guidelines to avoid these issues.
- Wood Shingles: These are nailed slightly differently, often requiring two nails per shingle placed approximately an inch from each edge and an inch above the overlap.
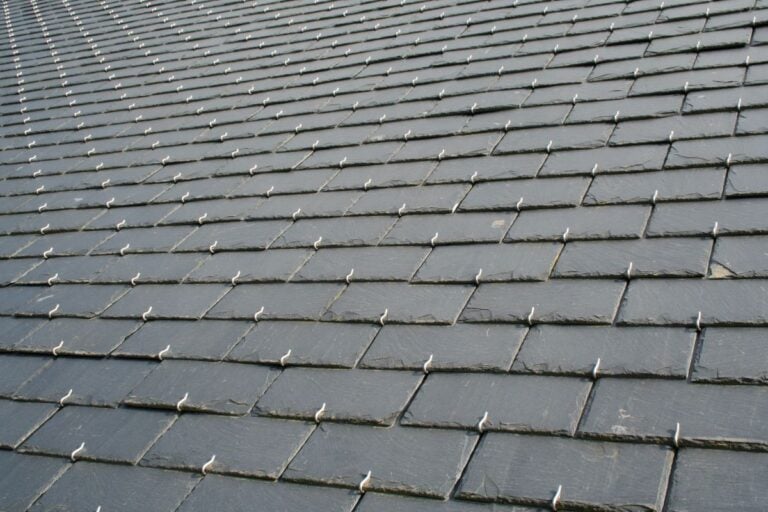
- Slate Shingles: These require pre-drilled holes for nailing to avoid cracking. Typically, two nails are used per slate piece, placed about an inch from the side and an inch from the top.
Tools and Materials Needed
Before starting your roof repair, gather the necessary tools and materials:
- Roofing Nails: Galvanized or stainless steel nails are recommended to prevent rusting.
- Hammer or Roofing Nail Gun: For precision and efficiency.
- Utility Knife: For cutting shingles.
- Chalk Line: To mark straight lines for shingle alignment.
- Roofing Cement: To seal nails and edges, especially around flashing.
- Ladder and Safety Equipment: Harness, gloves, and non-slip shoes for safety.
🔍 Inspecting the Roof Deck Before Nailing

Before you even think about nailing shingles, it’s crucial to inspect the roof deck thoroughly. The roof deck serves as the foundation of your entire roofing system, and any damage or defects here can compromise the integrity of your roof. Here’s what you need to look for:
- Signs of Damage: Check for cracks, splits, or rotting wood. Any damaged areas should be repaired or replaced to ensure a solid base for your shingles.
- Level and Even Surface: Ensure the roof deck is level and even, with no sagging or uneven areas. An uneven deck can lead to improperly nailed shingles and potential leaks.
- Secure Attachment: Verify that the roof deck is securely attached to the rafters and trusses. Loose decking can cause shingles to shift and nails to pop out.
- Gaps and Openings: Look for any gaps or openings between the roof deck and walls or chimneys. These should be sealed to prevent water infiltration.
- Clean Surface: Make sure the roof deck is clean and free of debris, such as old roofing materials or nails. A clean surface ensures better adhesion and nailing of shingles.
By taking the time to inspect the roof deck before nailing, you can identify and address potential issues early, ensuring a long-lasting and watertight roof.

🔨 8 Step Guide to Nailing Shingles

Nailing shingles correctly is vital for creating a durable and weather-resistant roof. This step-by-step guide will walk you through the essential steps to ensure each shingle is securely fastened, providing maximum protection for your home. Follow these eight steps to master the art of shingle nailing and achieve professional-grade results.
When nailing shingles, it’s crucial to avoid overdriven nails, which occur due to excessive pressure from pneumatic nail guns and can lead to severe issues such as voided warranties and increased risks of shingles loosening and blowing off. Additionally, under driven nails, caused by insufficient nail pressure, can result in protruding nails and loose shingles, compromising the roof’s integrity.
Ensure you follow the recommended nailing pattern for your shingles. Using too few nails can lead to shingles separating from the roof and increased vulnerability to strong winds. This practice can ultimately compromise the roof’s durability and lifespan.
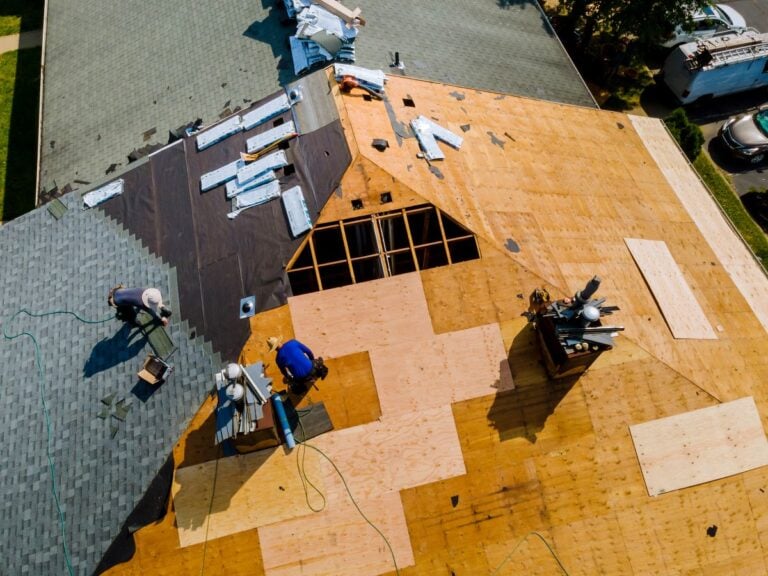
1. Inspect and Prepare the Roof
Before you begin, inspect your roof for any damage or weak spots. Ensure the roof deck is clean, dry, and free of debris. If you find any rotten or damaged wood, replace it before proceeding with shingle installation.
2. Mark Guidelines
Using a chalk line, mark horizontal and vertical guidelines to ensure your shingles are aligned properly. Typically, the first line is made 6-8 inches up from the roof’s edge to serve as a guide for the starter course of shingles.
3. Install the Starter Course
The starter course is essential as it provides the initial layer of protection. Lay the starter shingles (often these are inverted three-tab shingles) along the edge of the roof, ensuring the adhesive strip is facing up and towards the edge. Nail these shingles in place with the nails about 1 inch from the edges and about 3 inches up from the bottom edge.
4. Place and Nail the First Course of Shingles
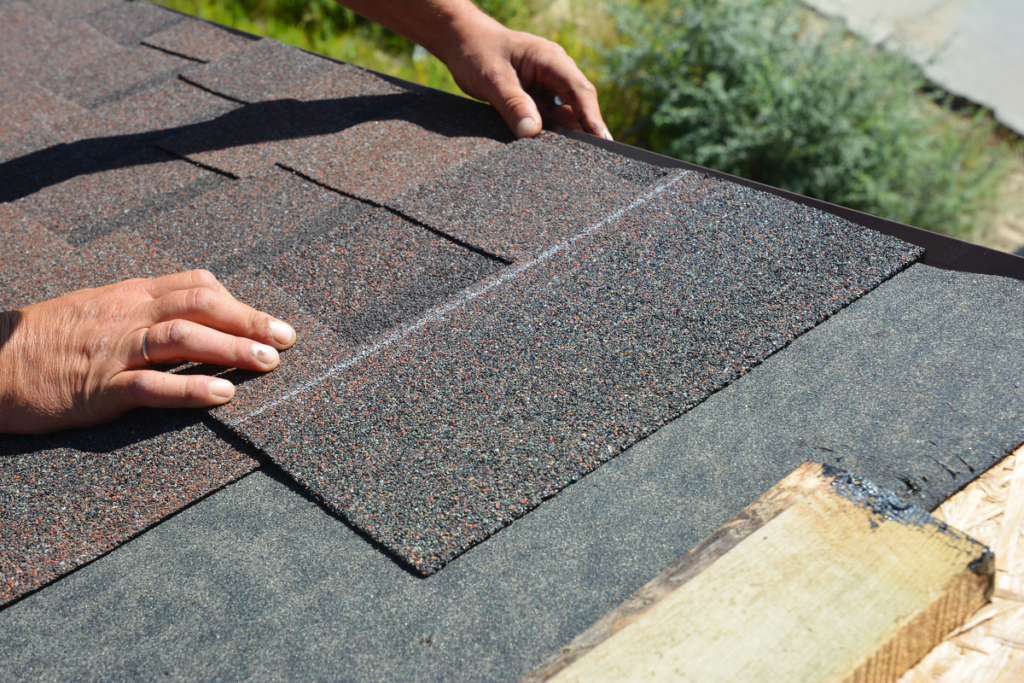
Once the starter course is in place, begin laying the first course of shingles. Align the bottom edge of the shingles with the bottom edge of the starter strip. Ensure that each shingle overlaps the previous one by about half its length.
- Position the Shingle: Lay the shingle flat against the roof with the adhesive strip down.
- Nailing: Place a nail about 1 inch from each end of the shingle and about 5/8 inch above the cutout slots. For three-tab shingles, this means nailing just below the tar strip. Ensure the nail heads are flush with the shingle surface but not cutting into it. Proper nailing secures not only the top shingle but also the shingle underneath.
5. Continue Up the Roof
As you move up the roof, ensure each new row of shingles overlaps the previous row by about 5-6 inches. This overlap provides adequate water shedding and protection.
- Stagger the Joints: To avoid water leaks, stagger the joints of the shingles in adjacent rows. This typically means starting each row with a half-shingle so that the joints are offset.
- Follow the Nailing Pattern: Continue to place nails as recommended, typically four nails per shingle, with extra nails at the sides and bottom edges in windy areas.
6. Nailing Around Roof Features
Special attention is needed when nailing shingles around roof features such as vents, chimneys, and valleys.
- Roof Valleys: For open valleys, shingles should be cut and laid in a woven pattern, with nails placed at least 6 inches away from the valley center. For closed valleys, shingles overlap from both sides, with nails kept away from the valley center to prevent leaks.
- Vents and Chimneys: Use flashing to seal around these features. Nail the shingles close to the flashing, and use roofing cement to seal any gaps or exposed nail heads.
8. Cap the Ridge
The ridge cap shingles are the final step in your roofing repair. These shingles cover the ridge and protect the roof’s peak from water infiltration.
- Cut the Shingles: If not using pre-manufactured ridge cap shingles, cut standard shingles into three pieces.
- Position the Cap Shingles: Lay the first piece on one end of the ridge, folding it over the peak.
- Nailing the Cap: Nail each side of the ridge cap, ensuring nails are placed about an inch from the edges. Overlap each subsequent piece until you reach the other end of the ridge.
Nailing Techniques for Different Shingle Types

Different types of shingles require specific nailing techniques to ensure they are securely fastened and provide optimal protection. Here are some tips for nailing various types of shingles:
- Asphalt Shingles: Use a pneumatic nail gun with roofing nails that have large heads and heavy-duty shanks. Drive the nails straight into the roof deck, spacing them evenly apart. This ensures a secure hold and prevents improperly driven nails.
- Clay or Concrete Tiles: These require specialized tile nails. Drive the nails at an angle to ensure a secure hold, as these materials are heavier and need extra support.
- Metal Shingles: Use metal roofing nails designed specifically for metal shingles. Drive the nails straight into the roof deck, ensuring even spacing to prevent shifting and ensure a tight fit.
- Slate Shingles: Slate shingles need specialized slate nails. Drive these nails at an angle to avoid cracking the slate and to ensure a secure hold.
Using the correct nailing technique for each type of shingle ensures a secure and watertight roof, preventing issues like improperly nailed shingles and enhancing the roof’s longevity.
🔧 Choosing the Right Nails for the Job
Selecting the right nails is crucial for a secure and durable roofing job. Here are some tips to help you choose the best nails for your project:
- Galvanized Nails: Always use galvanized nails for roofing applications. These nails are coated to resist rust and corrosion, ensuring they hold up well over time.
- Large Head and Heavy-Duty Shank: Choose nails with a large head and a heavy-duty shank. This provides a more secure hold and reduces the risk of nails pulling out or cutting into the shingles.
- Correct Length: Select nails that are the right length for your roofing material. Nails that are too short may not provide enough holding power, while nails that are too long can protrude through the roof deck, causing potential issues.
- Coated or Plated Finish: Consider using nails with a coated or plated finish for extra corrosion resistance. This is especially important in areas with high humidity or salt exposure.
By choosing the right nails for the job, you ensure a secure and watertight roof that will stand the test of time, preventing issues like improperly located nails and enhancing the overall integrity of your roofing system.
💡 Tips for Successful Shingle Nailing

Achieving a professional finish when nailing shingles requires attention to detail and adherence to proper techniques. In this section, we will provide valuable tips to help you nail shingles effectively, ensuring your roof’s durability and resistance to the elements. By following these tips, you can avoid common mistakes and ensure a job well done.
- Use the Right Nails: Using the correct type of nails is crucial. For asphalt shingles, use galvanized or stainless steel roofing nails with a minimum length of 1 inch. In high-wind areas, use longer nails to ensure a secure hold.
- Nail Placement Precision: Nails should be placed precisely as improper placement can lead to shingle damage and roof leaks. Nails should be driven straight and flush with the shingle surface, but not so deep that they cut into the shingle material.
- Weather Considerations: Avoid nailing shingles during extremely cold weather as the shingles can become brittle and may crack. Conversely, extremely hot weather can make shingles too pliable and lead to improper nailing. Aim to work during mild weather conditions for optimal results.
- Regular Maintenance and Inspection: After completing your roofing repair, conduct regular inspections to ensure that the shingles remain secure and intact. Check for any signs of loose or missing shingles, and promptly address any issues to maintain the integrity of your roof.
👉 Common Mistakes to Avoid

Even experienced roofers can make mistakes during the shingle nailing process, leading to potential issues down the road. In this section, we’ll highlight some of the most common errors and provide guidance on how to avoid them to ensure a sturdy, long-lasting roof installation. Paying attention to these pitfalls can save you time, money, and hassle in the long run.
🚫 Overdriving Nails
Overdriving nails can cut into the shingles, weakening their hold and making them more susceptible to wind damage. Use a nail gun with adjustable pressure settings to avoid this issue. This can also lead to exposed nails, which can cause roof leaks and should be covered with additional materials like shingles or mastic. Use a nail gun with adjustable pressure settings to avoid this issue.
🚫 Underdriving Nails
Nails that are not driven in far enough can create a gap between the shingle and the roof deck, leading to potential leaks. Ensure nails are flush with the shingle surface.
🚫 Incorrect Nailing Patterns
Following the manufacturer’s recommended nailing pattern is crucial. Incorrect patterns can lead to shingle blow-off and water infiltration.
🚫 Ignoring Manufacturer Guidelines
Always refer to the specific guidelines provided by the shingle manufacturer. Different shingle types and brands may have unique requirements that are critical for the longevity and performance of the roof.
🙌 Ensuring Roof Longevity: Expert Shingle Nailing and Maintenance by Roof Troopers
Nailing shingles during roof repairs requires attention to detail, the right tools, and proper technique. At Roof Troopers, our team excels in understanding the specific types of shingles and follows recommended nailing patterns and guidelines to ensure a secure and durable roof. Our expertise not only secures the shingles but also enhances the overall integrity and longevity of your roofing system. With regular inspections and maintenance, we catch issues early and maintain the protection of your home for years to come. Trust Roof Troopers for all your roofing needs—contact us today for a consultation!
Don’t pay for your roof until 2027!
0% APR, same as cash for 24 months
Get Started Today!
"*" indicates required fields