
Storm Damage Roof Repair in Northern Virginia
Fast & Effective Storm Damage Restoration
Northern Virginia is no stranger to severe weather. High winds, hail, and heavy rain can damage your roof in minutes, and even a small problem can turn into costly leaks if it goes unrepaired. When a storm hits, Roof Troopers responds fast with expert storm damage roof repair that restores your home to great condition. From the first inspection to the final shingle, we make recovery simple.
 Utilize Drones for Birds-Eye-View Roof Inspections
 Emergency Roof Tarping
 Help Navigating Your Insurance Claim
Get Started Today

What Our Clients Are Saying


Al, Lorton Homeowner
“I would highly recommend your company, and I am totally blown away not only with the customer service but the product you put out, I am very impressed.”


Erica, Alexandria Homeowner
“My experience with them was that they were professional, worked with me, explained to me everything that I needed to know in words that made sense to me… really took great care of the yard and the roof.”

West Springfield Homeowner
“The internet is the way I found Roof Troopers – highly rated! And then my experience is such that they exceeded the ratings that I had read in all respects.”
Storm Damage Repair Backed by Local Roofers
Storm Damage Repair Backed by Local Roofers
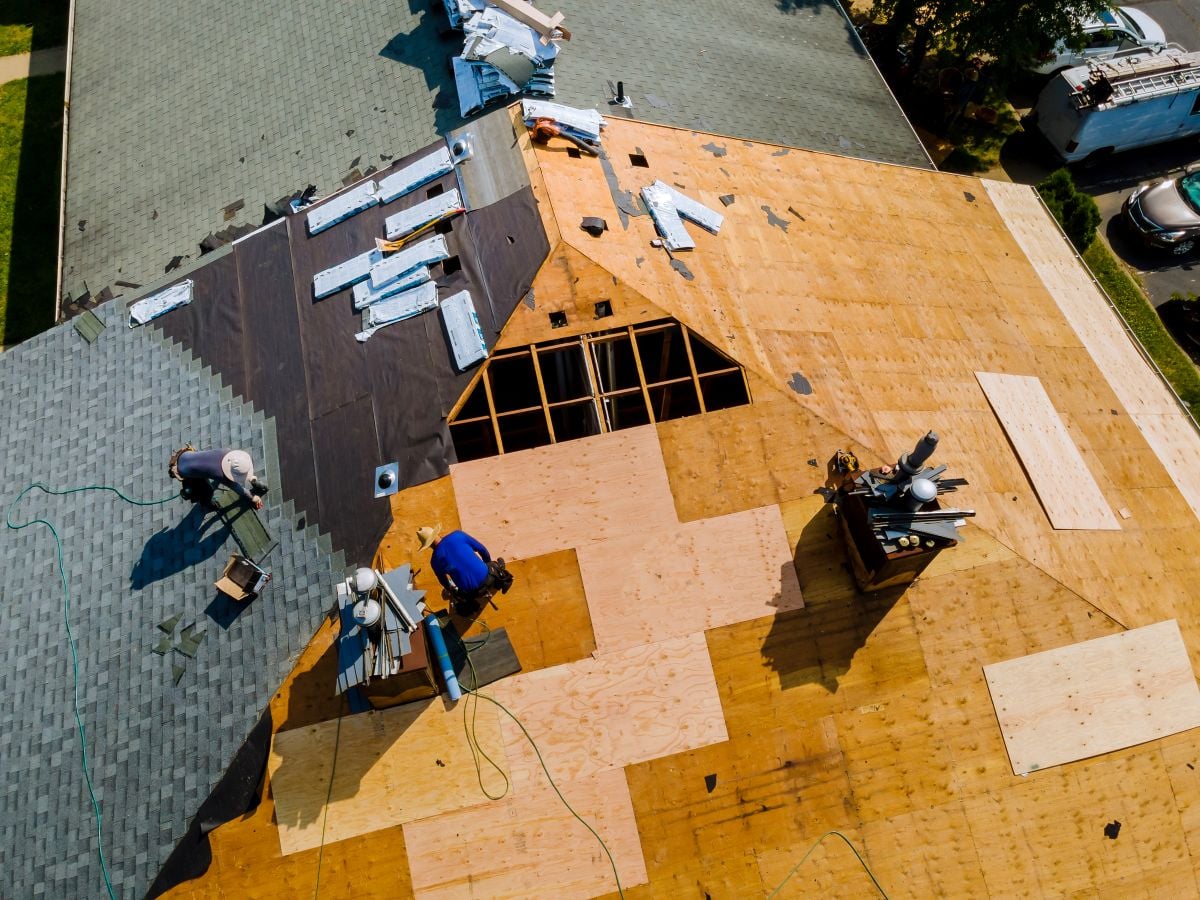
Severe weather can take a toll on your roof, causing missing shingles, leaks, or structural damage. Roof Troopers specializes in storm damage repairs, restoring your roof’s strength and durability after high winds, hail, or heavy rain. Our team provides thorough inspections, expert repairs, and assistance with insurance claims to make the process seamless. Don’t wait for minor damage to turn into costly repairs—schedule a storm damage inspection today and protect your home!
Schedule Inspection
SIGNS OF STORM DAMAGE

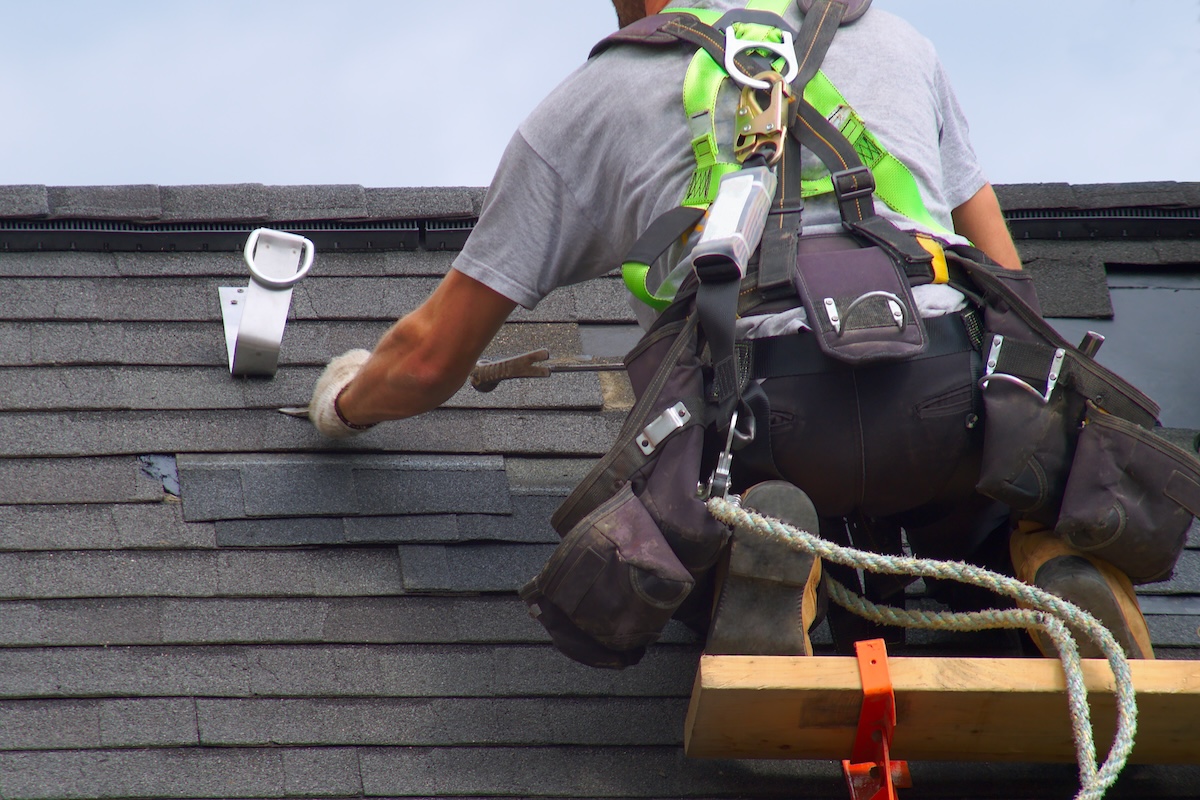
MISSING SHINGLES
Strong winds or large debris can cause your shingles to become damaged or even come off altogether. If you have missing shingles, you’ll want to tarp your roof immediately and get it fixed to prevent any water damage. We can help with that.

WATER LEAKS
If you notice any water spots on your ceiling near the attic, it could be a sign you have a roof leak. Ultimately a thorough inspection can pinpoint the issue, so call Roof Troopers if you spot even the smallest sign of a water leak.

HAIL DAMAGE
Hail can hit your roof with enough force to crack and damage shingles, and most commonly it causes granule loss which is the protective layer on the top of your shingles. If a hail storm rolled through and you’re unsure if you see damage or not, call Roof Troopers.

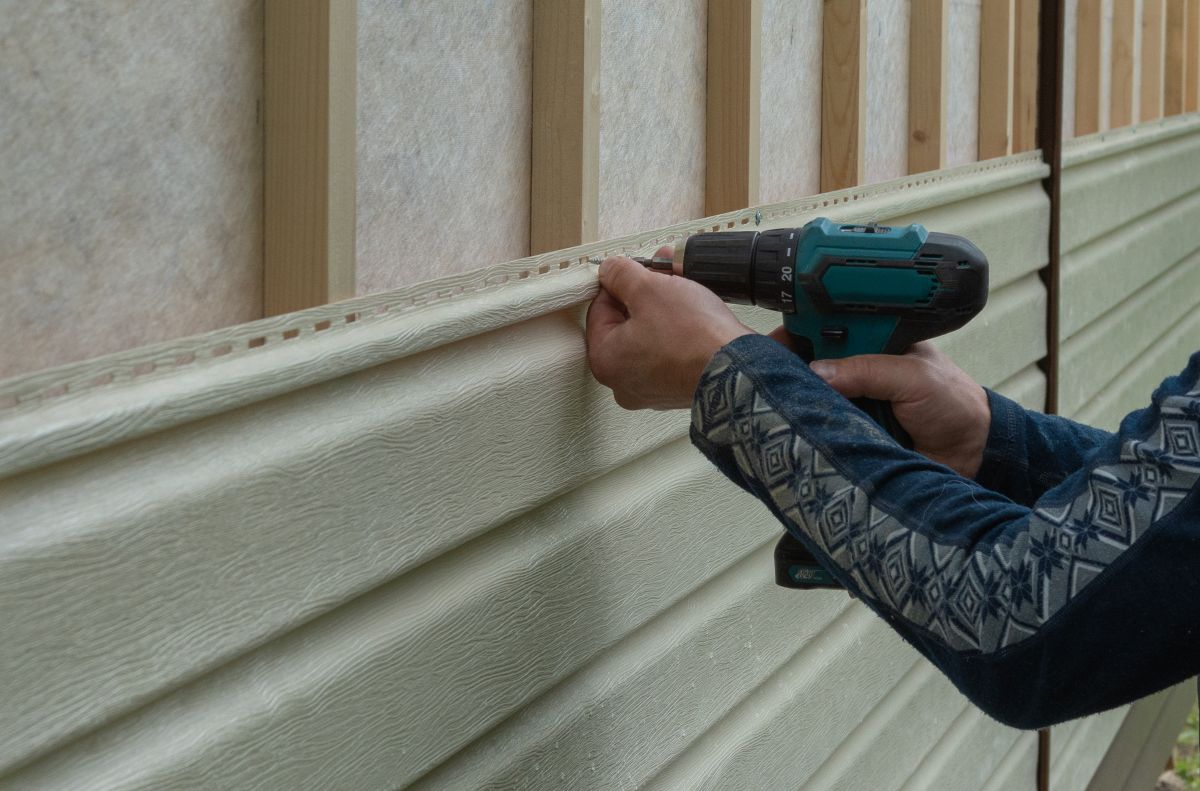
LIFTED SHINGLES
High winds can lift up your shingles enough to pull out their nails, leaving them susceptible to leaks and costly damage. If your shingles look out of line, lifted, or curled, it could be a sign they’ve been compromised.
MISSING SHINGLES
MISSING SHINGLES
Strong winds or large debris can cause your shingles to become damaged or even come off altogether. If you have missing shingles, you’ll want to tarp your roof immediately and get it fixed to prevent any water damage. We can help with that.
WATER LEAKS
WATER LEAKS
If you notice any water spots on your ceiling near the attic, it could be a sign you have a roof leak. Ultimately a thorough inspection can pinpoint the issue, so call Roof Troopers if you spot even the smallest sign of a water leak.
HAIL DAMAGE
HAIL DAMAGE
Hail can hit your roof with enough force to crack and damage shingles, and most commonly it causes granule loss which is the protective layer on the top of your shingles. If a hail storm rolled through and you’re unsure if you see damage or not, call Roof Troopers.
LIFTED SHINGLES
LIFTED SHINGLES
High winds can lift up your shingles enough to pull out their nails, leaving them susceptible to leaks and costly damage. If your shingles look out of line, lifted, or curled, it could be a sign they’ve been compromised.
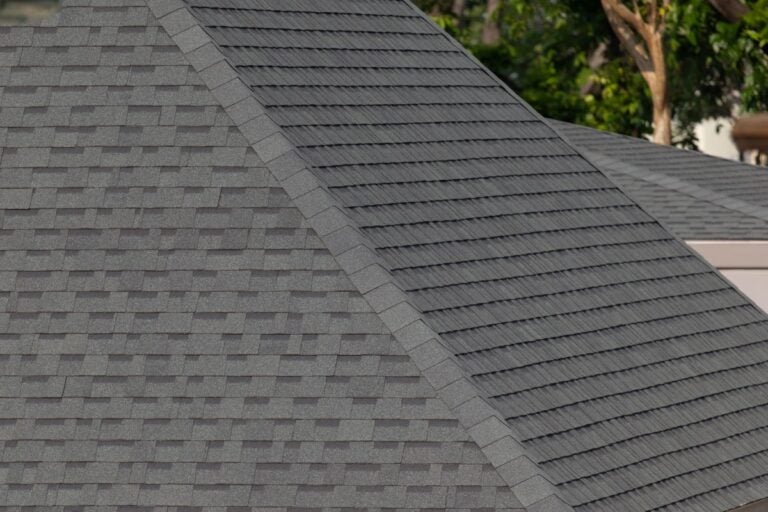
TAKE A LOOK AT SOME OF OUR FAVORITE WORK
Keeping Virginia Homeowners Protected
Keeping Virginia Homeowners Protected
Severe weather can take a toll on your roof, causing missing shingles, leaks, or structural damage. Roof Troopers is a local roofing company that specializes in storm damage repair, restoring your roof’s strength and durability after high winds, hail, or heavy rain. Our team provides thorough inspections, expert repairs, and assistance with insurance claims to make the process seamless. Don’t wait for minor damage to turn into costly problems. Schedule a storm damage inspection today and protect your home.
Contact Us
OUR 4-STEP ROOFING PROCESS

Step 1
INITIAL CONTACT
When we first meet, we’ll have a quick 10-minute call to determine your needs, wants, and determine if we can help you meet your roofing goals!

Step 2
CONSULTATION & ESTIMATE
We’ll do a thorough consultation going through your roofing project. We’ll determine a potential timeline, materials, and how much the project will cost.

Step 3
FINAL REVIEW
Once you’ve reviewed our estimate and recommendations, we can make final edits and solidify a plan for your roof.

Step 4
STARTING YOUR PROJECT
Let’s sign that dotted line! Once we finalize your project we’ll get a day scheduled to get started!
PROUDLY SERVING NORTHERN VIRGINIA
PROUDLY SERVING NORTHERN VIRGINIA
- Springfield
- McLean
- Falls Church
- Lorton
- Arlington
- Alexandria
- Fairfax Station
- Fairfax
- Vienna
- Mount Vernon


THE LATEST FROM OUR BLOG
FREQUENTLY ASKED QUESTIONS
Can you match the color of my existing shingles?
Most often, we can answer yes to this question. In some rare cases, the color may be slightly different, but we’re always able to get a really close match. You won’t have to worry about the color being slightly different on a section of your roof if it is repaired. And we can use a mockup design tool to show you what different colors will look like with the color of your house.
Do you work on older homes?
Yes! We want you to have a solid roof over your head no matter what. But when it comes to storm damage, we may inspect your roof and recommend a full replacement depending on the age and condition of the roof and severity of the damage.
How do I know if I have storm damage?
There are a number of things to look for but you can start by requesting a storm report to see if any storms have impacted your area, next look for spatter marks around your property or feel free to call a local roofing expert to come out and take a look for you.
Do you offer warranties on repairs?
Yes, whenever one of our consultants deem that the roof is repairable, we offer a 10 year worry free workmanship warranty for the area we repaired.
GET YOUR ROOFING DONE RIGHT
