If you’re starting to prep for needing a roof replacement soon, you’re probably running into a lot of new information online. What’s flashing? Ridge vents? And what’s the difference between all the various roofing materials?
You, like many other homeowners, maybe thought there was only one type of roof shingle, and now you’re wondering what the deal is with 3-tab shingles and architectural shingles.
This article will give you a leg up before you embark on your upcoming roof replacement. We’ll take a closer look at architectural shingles vs. 3-tab and how they compare in the categories that really matter:
- Longevity ⏳
- Aesthetics 🎨
- Upfront Cost 💰
- Weather Resistance ⛈️
- Manufacturer Warranties 🏅
The Difference Between Architectural Shingles vs. 3-Tab Shingles

To start, architectural shingles and 3-tab shingles have many similarities. They both fall under the “asphalt shingles” category. They have a fiberglass base that’s coated with a layer of asphalt and ceramic granules.
Both materials are very popular with homeowners across the country. In fact, most homes have asphalt shingle roofs— whether they’re architectural shingles or 3-tab shingles.
The defining characteristic of 3-tab shingles is that they come in parts that resemble three individual shingles but are actually one piece. Architectural shingles (also called dimensional shingles or laminated shingles) are typically bulkier and designed to look like cedar shakes or slate.
How the Two Types of Shingles Compare in 5 Categories
When you choose a roofing material, you want to ensure it will last for many years, boost your curb appeal, and fit within your budget. Let’s take a closer peek at how architectural shingles and 3-tab shingles perform in five different categories.
Category 1: Longevity

It’s no secret that a new roof is a significant investment. If you’re planning on selling your home in a couple of years, you may not care about how long your roof will last. But if you don’t plan on moving, you certainly don’t want to replace your roof again any time soon.
Properly installed 3-tab shingle roofs usually last between 10-20 years. Architectural shingles typically last 15-25 years or even up to 30 years in optimal conditions.
🏆 Longevity Winner: Architectural Shingles
Category 2: Aesthetics
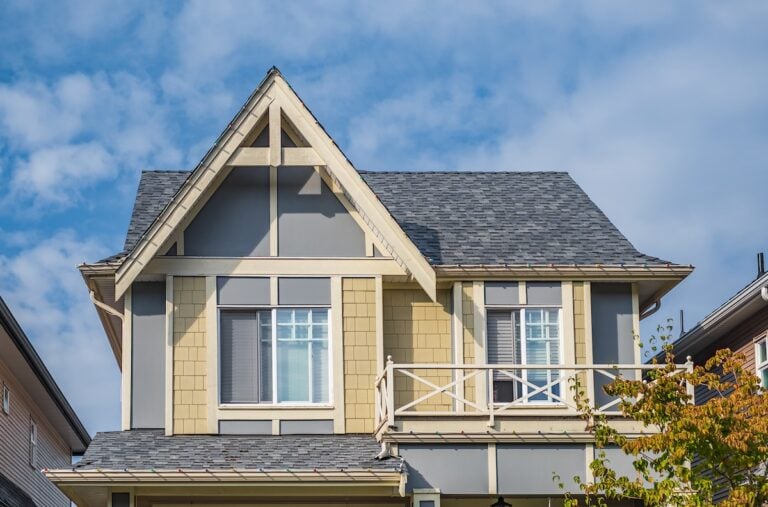
If your home’s exterior is pleasing to the eye, then it boosts your curb appeal. A higher curb appeal adds home value when it’s time to sell your house. Plus, you just want your home to accurately reflect your taste and personal style.
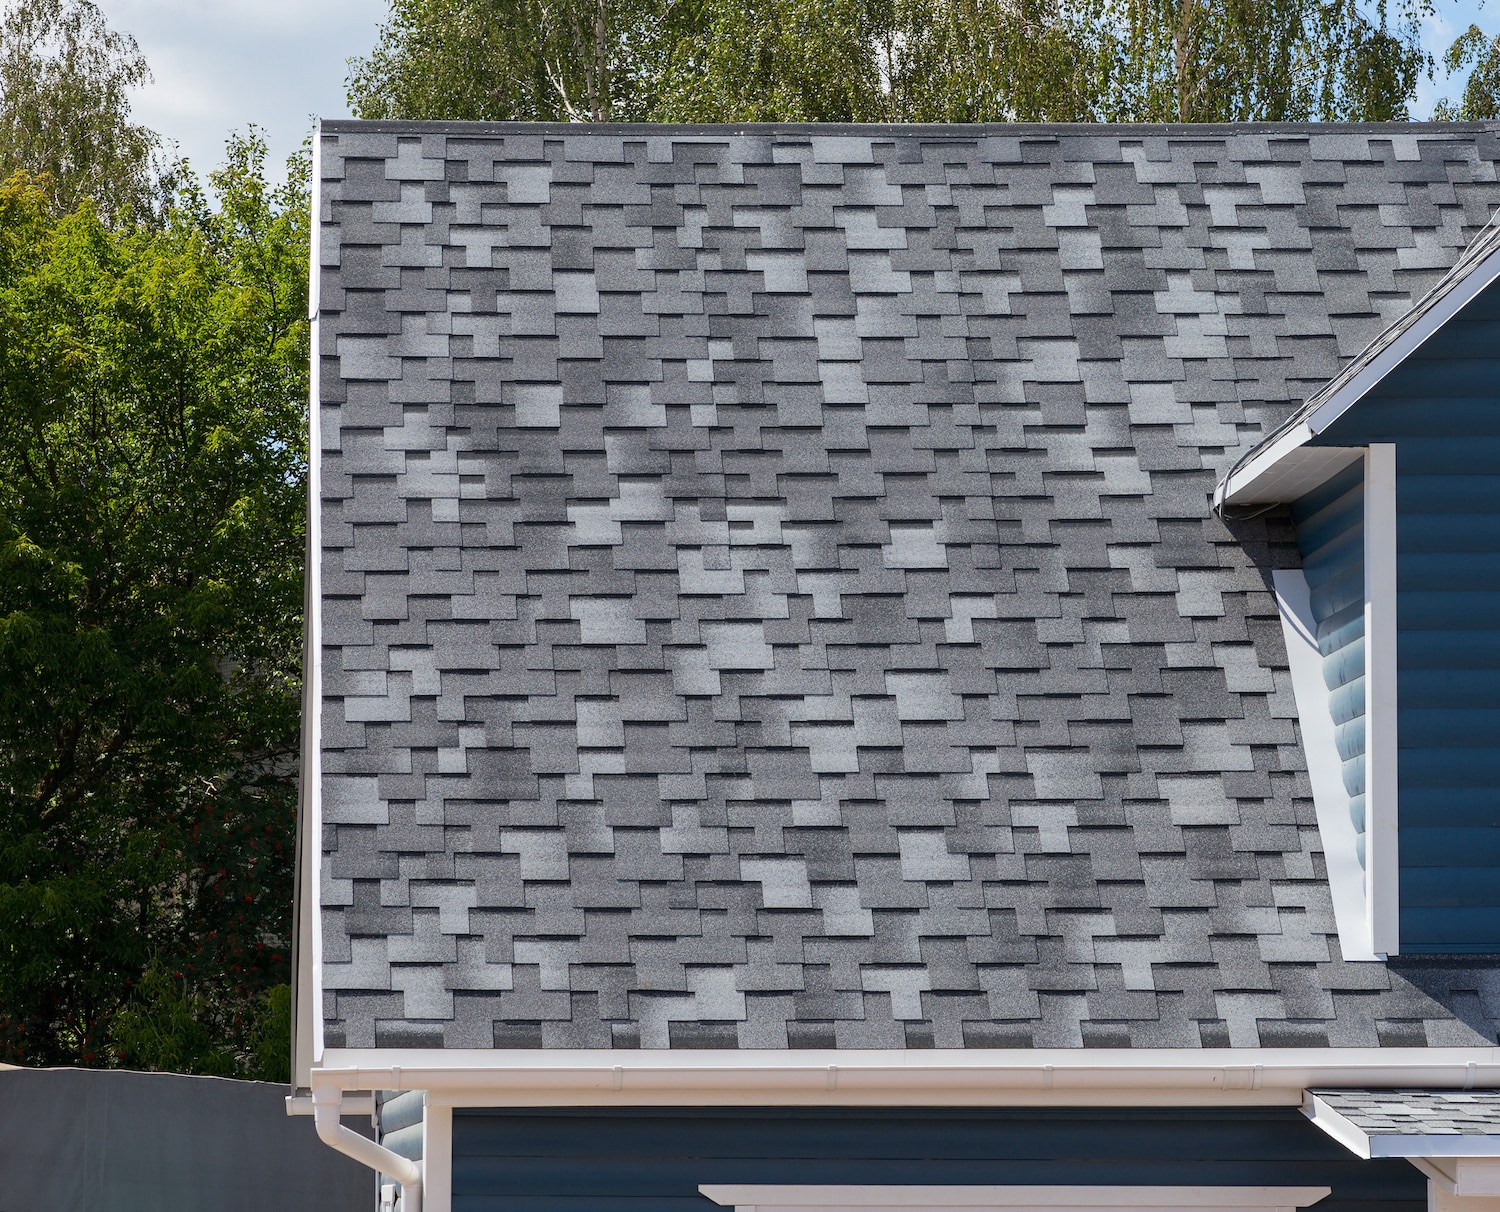
Dimensional shingles are widely known for their beautiful aesthetics. They aren’t called “dimensional” for nothing! These stunning designs feature shingles with multiple complimentary tones that produce a more three-dimensional look. They’re also designed to resemble more premium roofing materials like slate tiles or wood shakes. There’s a plethora of striking color combinations to choose from.
3-tab shingles are more straightforward. They come in a variety of colors, but the colors are all in one tone. Additionally, they only come in one shape and size.
🏆 Aesthetics Winner: Architectural Shingles
Category 3: Upfront Cost
If you’re like most homeowners, you want to cut costs wherever possible. Having a durable roof that keeps you protected is incredibly important, but sometimes, you just don’t have enough immediate funds to justify a premium roofing material.
Architectural shingles are almost always more expensive than 3-tab shingles. Where architectural shingles are usually between $34-$45 a bundle, 3-tab shingles typically run closer to $25 a bundle.
The caveat here is that architectural shingles are thicker and have a longer lifespan, so while you’ll pay more upfront for them, you won’t have to repair or replace your roof as often.
🏆 Upfront Cost Winner: 3-Tab Shingles
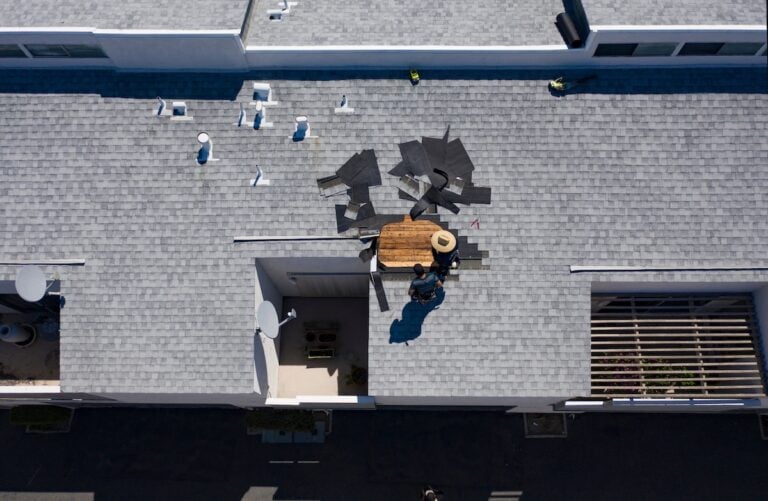
Category 4: Weather Resistance

Inclement weather is most often what causes roofing materials to lose their integrity. In the case of asphalt shingles, harsh weather can have a greater impact than on more durable roofing materials like metal or clay tiles.
Still, asphalt shingles can withstand weather enough to protect you for a few years.
Architectural shingles have two layers, while 3-tab shingles only have one. These multiple layers inherently make architectural shingles more durable, which allows them to resist hail impact better.
Since 3-tab shingles are thinner and lighter, they’re more susceptible to wind damage over 60 miles per hour. Architectural shingles, on the other hand, can withstand winds up to 120 miles per hour.
🏆 Weather Resistance Winner: Architectural Shingles
Category 5: Manufacturer Warranties
Our last category is sometimes overlooked, but it’s incredibly important. When you invest in a new roof, you want to feel confident that it won’t give out on you a few short months or years afterward.
Different roofing contractors may offer a labor warranty, but shingle manufacturers provide a product warranty as long as the roof gets installed according to the directions.
Since 3-tab shingles have a shorter lifespan, they have shorter warranties in turn. Architectural shingles often come with warranty coverage that’s 40 years or more. Some roofing companies may even back architectural shingles with a lifetime warranty.
Certain shingle manufacturers may also offer specific wind and hail warranties for dimensional shingles. However, the product warranties that come with 3-tab shingles are usually more basic.
🏆 Manufacturer Warranties Winner: Architectural Shingles
Overall Winner: Architectural Shingles!
It’s clear that architectural shingles are a fantastic option for your upcoming roof replacement, thanks to their stunning aesthetics, durability, longevity, and warranties. If upfront cost is your only priority, then you’ll be just fine for a few years with a 3-tab shingle roof. But if you want to get the most out of your investment, we highly recommend architectural shingles!
Ready to talk more about your roof replacement options? Get in touch with the roofing pros at Roof Troopers. We’ll walk you through all of the different shingle options you have for your new roof.
Schedule your free quote with Roof Troopers today!
Don’t pay for your roof until 2027!
0% APR, same as cash for 24 months
Get Started Today!
"*" indicates required fields