Installing a standing seam metal roof is a fantastic way to enhance your home’s style, energy efficiency, and durability. Known for its clean, modern lines and unrivaled performance, this roof type is a favorite among homeowners who want to make a smart and impactful investment.
This step-by-step guide will walk you through everything you need to know about standing seam metal roof installation. Here’s what we’ll cover:
- What is a standing seam metal roof?
- How to install a standing seam metal roof (step-by-step guide)
- Benefits of a standing seam metal roof
🤔 What Is a Standing Seam Metal Roof?

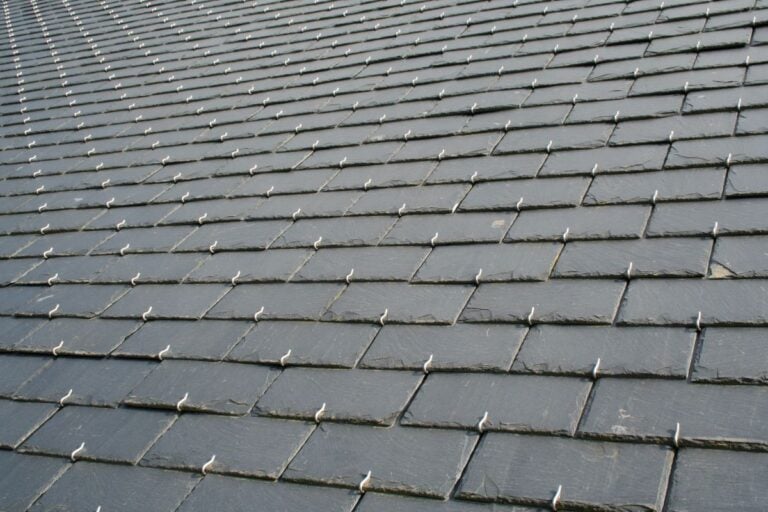
A standing seam metal roof features vertical panels with raised seams (or ribs). These seams interlock to create a sleek, watertight surface. Unlike traditional asphalt shingles, the seamless design gives your home a contemporary look while making it exceptionally durable and weather-resistant.
Standing seam roofs are often made from materials like galvanized steel, aluminum, or copper. They are increasingly popular due to their longevity, low maintenance, and clean aesthetic.
Key Features of a Standing Seam Roof:
- Raised Seams: These are the vertical ridges that lock panels together, creating a waterproof barrier.
- Hidden Fasteners: The fasteners are concealed to enhance the roof’s sleek appearance and prevent leaks.
- Custom Length Panels: Panels are cut to fit the length of your roof for fewer seams and greater durability.
🏢 7 Steps to Install a Standing Seam Metal Roof

Installing a standing seam metal roof is a complex process that demands skill, precision, and the right tools. While we strongly recommend hiring professionals to ensure a flawless and safe installation, this guide offers an overview of the key steps involved in the process.
1: Prepare the Roof Deck
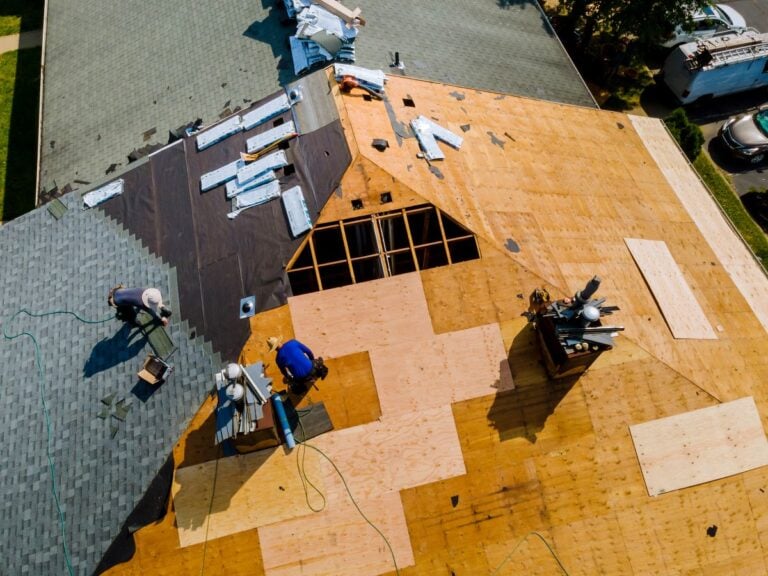
The first and most important step in installing a standing seam metal roof is preparing the roof deck. A properly prepared deck ensures the durability and performance of the new roof. Begin by removing any existing roofing materials, such as shingles or old underlayment, to create a clean surface. Once the deck is exposed, carefully inspect it for any signs of damage, such as rot, cracks, or unevenness. If there is any damage, make the necessary repairs before proceeding. After the deck is repaired and level, install a moisture barrier or underlayment across the entire surface. This layer acts as a protective shield against water infiltration, safeguarding your home from potential leaks.
2: Choose Your Panels and Measure
Selecting the right metal panels is crucial for both the functionality and aesthetic appeal of your roof. Choose panels that complement the design of your home and fit within your budget. Options vary in material, color, and finish, so take the time to explore what works best for your needs. Once you’ve chosen your panels, measure your roof accurately. This includes obtaining precise dimensions for the length, width, and slope of the roof. Accurate measurements are essential to ensure you order the correct number and size of panels to avoid delays or unnecessary expenses.
3: Install Starter Clips
Starter clips are small but essential components that secure the first row of metal panels in place. These clips are installed along the eave, which is the lower edge of the roof, and provide the foundation for the rest of the panels. Proper placement and alignment of these clips are critical, as they ensure the panels are securely anchored and positioned correctly. Take the time to double-check the positioning of each clip before fastening them to the roof deck.
4: Position and Attach Metal Panels
With the starter clips in place, the next step is to position and attach the metal panels. Begin at one end of the roof, ensuring the first panel is perfectly aligned from the ridge at the top of the roof to the eave at the bottom. Carefully place the panel onto the roof and attach it using hidden fasteners, which are specially designed to secure the panels without being visible. Hidden fasteners not only provide a clean, seamless appearance but also enhance the roof’s weatherproofing capabilities. Take extra care during this step to ensure each panel is properly secured before moving on to the next.
5: Interlock Panels
Once the first panel is in place, start interlocking the additional panels. Standing seam metal roofs are designed with interlocking edges that connect seamlessly with one another, creating a watertight seal. Follow the manufacturer’s instructions carefully to ensure proper seam alignment, as this step is critical for the roof’s durability and resistance to the elements. Pay close attention to the edges and seams to avoid gaps, which could compromise the roof’s integrity.
6: Install Ridge Caps
After all the panels are installed, it’s time to complete the roof with ridge caps. Ridge caps are placed along the peaks of the roof, where two sloping sides meet. These caps not only provide a polished, professional finish to the roof but also offer additional weatherproofing by covering seams and preventing water from seeping in at the ridges. Secure the ridge caps tightly and ensure they are aligned perfectly to match the roof’s overall design.
7: Inspect the Roof
The final step is a thorough inspection of the entire roof installation. Carefully examine each panel to ensure it is securely attached, with no loose fasteners or misaligned seams. Check for any gaps, exposed fasteners, or uneven sections that could compromise the roof’s performance. Additionally, verify that the ridge caps are properly installed and that the weatherproofing is intact throughout the roof. A detailed inspection at this stage ensures your standing seam metal roof is ready to provide long-lasting protection and a sleek, modern look to your home.
Benefits of a Standing Seam Metal Roof

Why should homeowners consider this roofing option? Here are some of the standout benefits:
Exceptional Durability
Standing seam metal roofs can last up to 50 years or more with proper maintenance. They resist cracks, corrosion, and high winds better than many other roofing materials.
Enhanced Energy Efficiency
These roofs reflect the sun’s heat rather than absorbing it, reducing cooling costs in the summer. Some panels are even compatible with solar panel systems.
Low Maintenance
Compared to shingle roofs that require periodic replacements, standing seam metal roofs are virtually maintenance-free, with no exposed fasteners to corrode or loosen over time.
Modern Aesthetic
The sleek, clean lines create a stylish and contemporary look, making homes stand out while boosting curb appeal.
Environmentally Friendly
Metal roofs often use recycled materials and are 100% recyclable at the end of their lifespan, making them a sustainable choice.
🛠️ Metal Roof Installation
When it comes to standing seam metal roof installation, Roof Troopers is the team you can trust to deliver exceptional results. With expert craftsmanship, premium materials, and a commitment to clear communication, we ensure your roofing project is completed with precision and care. As a family-owned business with deep roots in Northern Virginia, we pride ourselves on treating every home like it’s our own.
Ready to upgrade your roof to a durable, energy-efficient, and beautiful standing seam metal system? Contact Roof Troopers today for a free consultation and experience the difference!
Don’t pay for your roof until 2027!
0% APR, same as cash for 24 months
Get Started Today!
"*" indicates required fields