Small components can have an outsized impact on how well a home performs, and the roof vent cap is a perfect example. Sitting at the top of every vent pipe that penetrates your roof, these covers deflect rain, block pests, and preserve the airflow that keeps attics dry and living spaces comfortable. When they fail or are installed incorrectly, moisture gets in, pests find entry points, and ventilation suffers in ways that compound quickly. Understanding what proper ventilation design and installation actually require before a problem develops is worthwhile for any homeowner in Fairfax and surrounding areas.
Here is what you will learn in this guide:
- What a roof vent cap is and why it matters to your home’s health
- The most common types and which applications each one suits
- A step-by-step breakdown of the installation process
- How to recognize signs of failure and what to do about them
- When to handle this yourself versus calling a professional

Why Roof Vent Caps Matter More Than Most Homeowners Realize
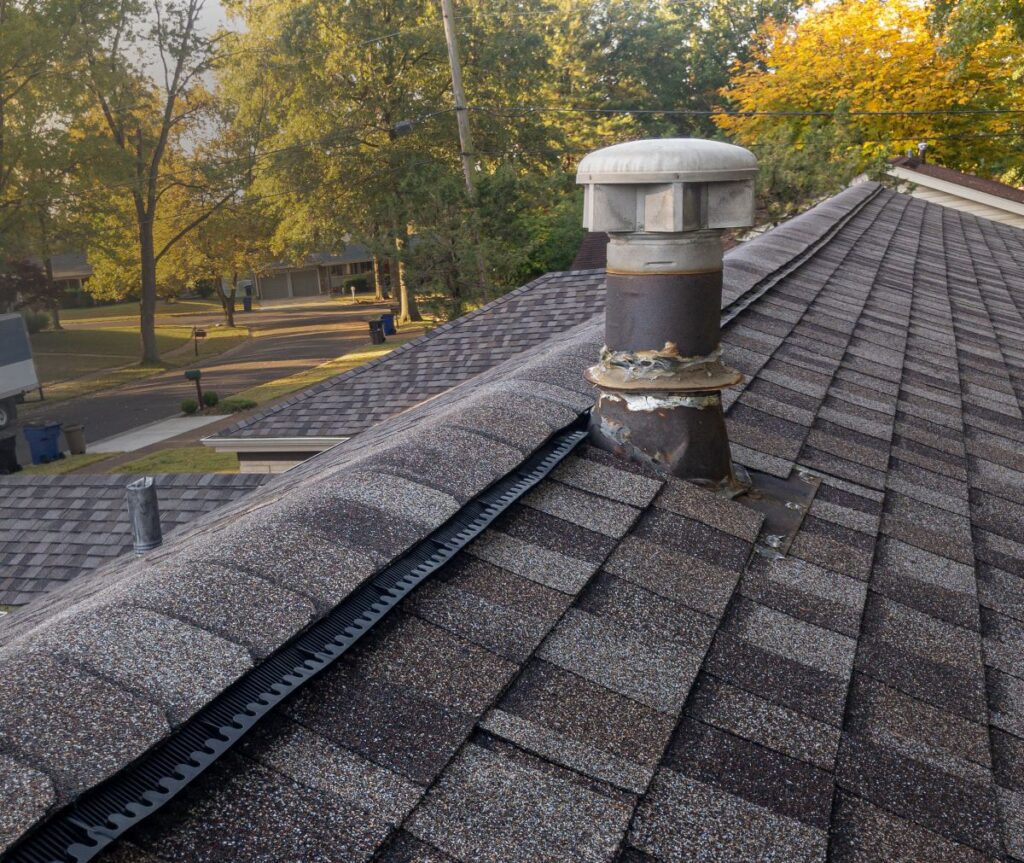
A roof vent cap is easy to overlook because it is small and does its job quietly when functioning correctly. The problems it prevents, however, are anything but small. Moisture that enters through an uncapped or deteriorated vent can accumulate in attic insulation, accelerate wood rot in roof decking, and create conditions for mold growth. In a climate like Fairfax and surrounding areas, where summers bring humidity and winters bring freeze-thaw cycling, a compromised vent cap creates vulnerabilities that compound over time.
Proper ventilation also affects energy efficiency directly. An attic with functioning vent caps and balanced airflow stays cooler in summer and drier in winter, reducing HVAC load and extending the life of your roofing materials. Protecting that airflow starts at the cap.
- Moisture control: Water intrusion through a failed vent cap can saturate insulation, soften decking, and create the damp conditions that allow mold to establish. Roof vent caps help exhaust humid air from bathrooms and kitchens while protecting against rain, snow, leaves, debris, and birds entering the home through open vent pipes.
- Pest exclusion: Birds, squirrels, and insects actively seek out open vent pipes as nesting sites. Once inside, they create blockages that can stop ventilation entirely. Vent caps with mesh screens or internal baffles are specifically designed to prevent this.
- Ventilation integrity: The airflow moving through bathroom exhaust fans, kitchen range hoods, and attic vents depends on vent caps that allow gases and moisture-laden air to exit without creating backdraft. A cap that is blocked, crushed, or missing disrupts the entire vent system.
- Ice dam prevention and code compliance: In cold climates, functioning vent caps help prevent ice dams by keeping roof surface temperatures more uniform in winter. Building codes in Virginia and Fairfax County also specify vent termination heights and cover requirements — installing caps correctly keeps your home compliant and protects warranty coverage.
Understanding these stakes makes it easier to treat roof vent cap maintenance as a genuine priority rather than an afterthought during a roof inspection. Inspect your vent cap at least twice a year, remove debris like leaves and dirt to ensure airflow, and replace damaged caps promptly to avoid bigger problems.
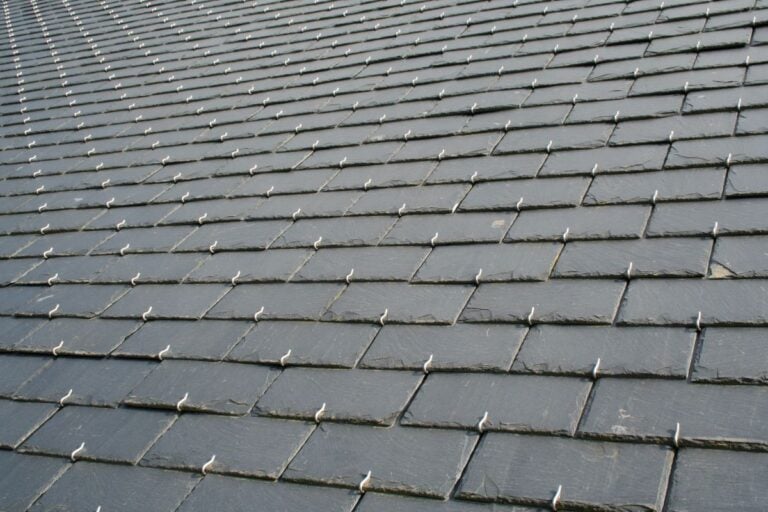
5 Types of Roof Vent Caps and How Each One Works
Roof vent caps are not a one-size-fits-all product. The right cap depends on the type of vent it covers, the pipe diameter, the roofing material it penetrates, and the performance requirements of that vent system. When shopping, take the time to view the product specifications and test that the diameter, material, and damper type match your existing installation before adding any item to your order. Choosing the wrong cap can restrict airflow, fail to seal properly, or deteriorate faster than expected under local weather conditions.
Each type below corresponds to a specific function and location. Homeowners in Fairfax and surrounding areas should verify which type applies before purchasing a replacement, since a mismatch in size or design can create the very problems the cap is meant to prevent.
1. Plumbing Vent Caps
Plumbing vent caps sit over drain-waste-vent stack pipes that maintain air pressure in your plumbing system and allow sewer gases to escape safely. These caps allow free airflow in both directions while keeping rain and debris out. They are typically made of PVC, ABS plastic, or metal and come in standard diameters of two, three, and four inches.
- Must allow gas to exit freely without restriction
- Should include a screen or mesh insert to prevent insect and bird entry
- Require a watertight flashing collar at the roof deck level
2. Bathroom Exhaust Vent Caps
Bathroom exhaust vent caps terminate the ductwork carrying moisture-laden air from your bathroom fan through the roof. According to Family Handyman, three-inch and four-inch duct diameters are most common, and the cap must match the duct size exactly. These caps typically feature a hinged or spring-loaded flap that opens under airflow pressure and closes when the fan is off to prevent backdraft.
- Flap mechanism prevents cold air from entering in winter
- Dome-shaped, square, and chimney-style formats are all available
- Should include a mesh screen in areas prone to insect intrusion
3. Kitchen Range Hood Vent Caps
Kitchen range hoods that vent to the exterior require a cap rated for grease-laden exhaust. These caps are typically larger in diameter, constructed from galvanized steel or aluminum to withstand heat, and include a damper that closes when the hood is not in use. Improper caps on kitchen exhaust systems create fire hazards if grease accumulates around a restricted opening.

- Must be constructed from non-combustible materials
- Damper should seal tightly when off to prevent pest entry
- Requires periodic cleaning to prevent grease buildup at the cap opening
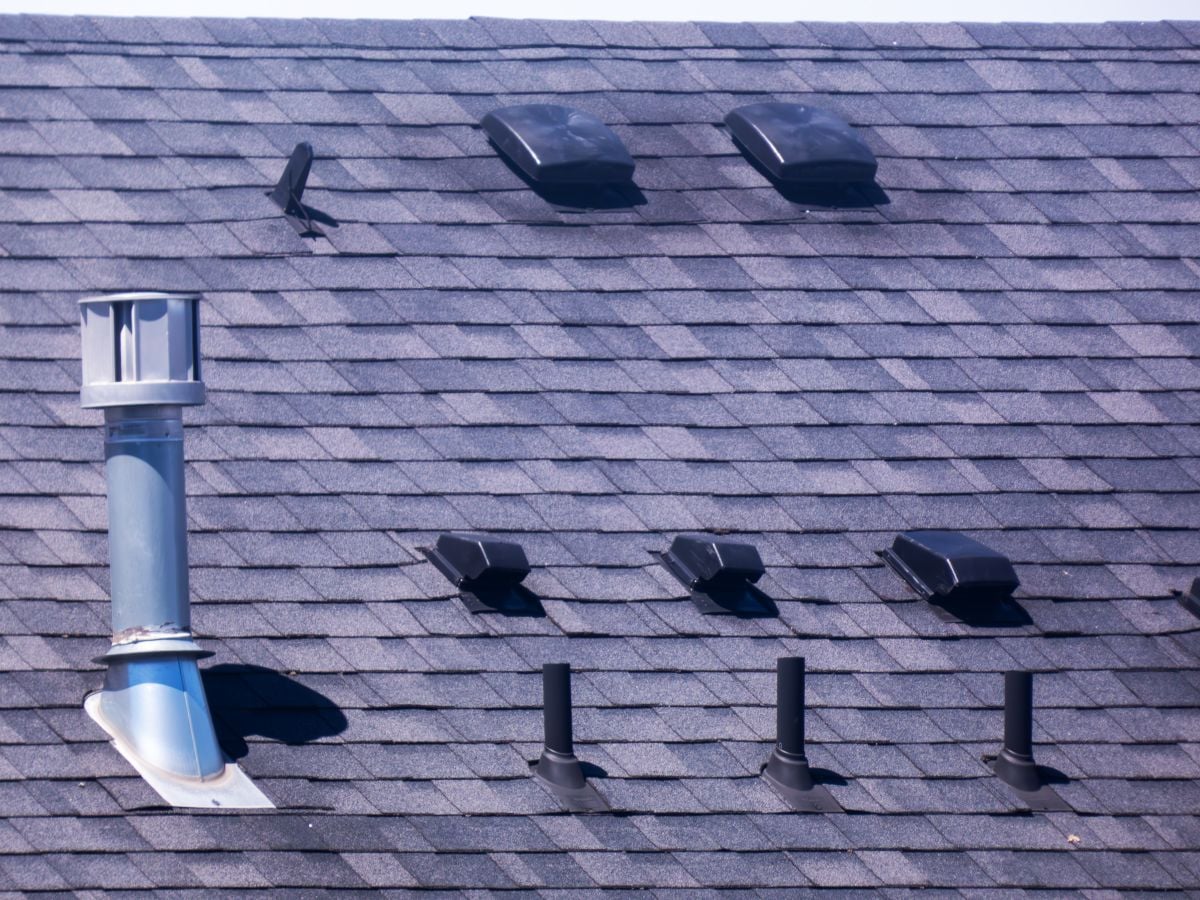
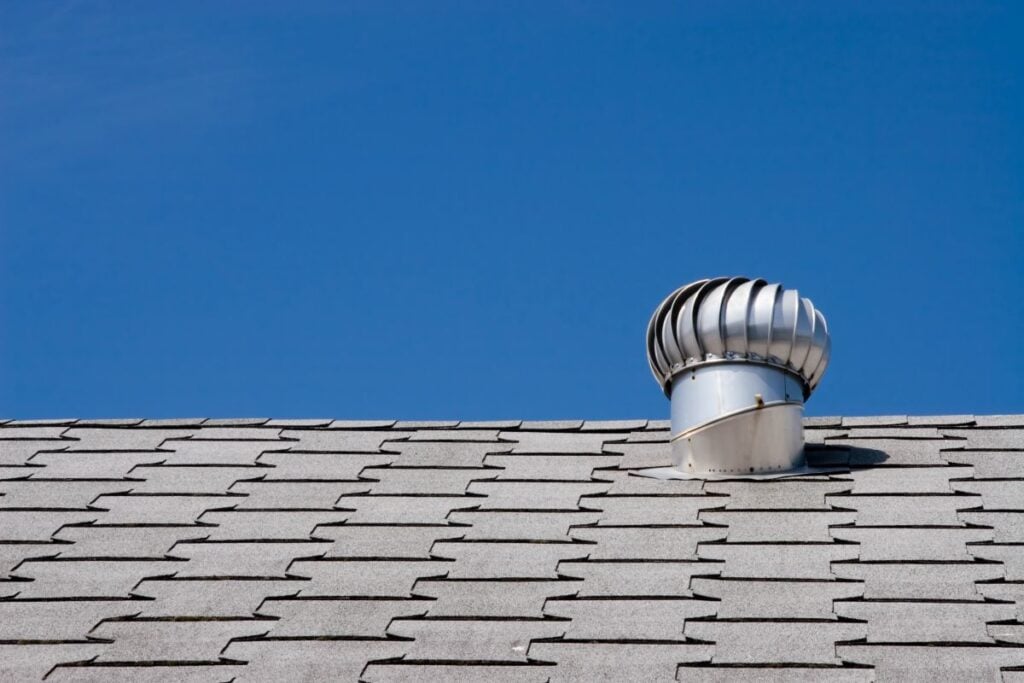
4. Attic Turbine Vents
Turbine vents use wind-driven rotation to pull hot, humid air out of the attic continuously. The rotating cap generates suction even at low wind speeds, making them effective passive tools where electric ventilation is not installed. They are commonly installed in pairs or groups to create balanced attic airflow.
- Require no electricity and operate continuously in wind conditions
- Bearings and rotating components require periodic inspection for wear
- Should be sized appropriately to the attic square footage being ventilated
5. Static Low-Profile Ridge and Slant-Back Caps
Static caps do not move. They rely on their physical shape to deflect wind and rain while allowing passive air movement through slots or perforations in the cap body. Ridge vents provide a hidden way for hot air to escape the attic and offer continuous passive airflow across the full ridge line. Slant-back caps face away from the prevailing wind and suit sloped roofs well. In cold climates, avoid low-profile vent caps because their reduced clearance makes them more vulnerable to freezing and snow blockage.
- No moving parts means minimal maintenance and long service life
- Effectiveness depends on correct placement relative to intake venting
- Available in aluminum, galvanized steel, plastic, and copper to suit different budgets
Each type serves a distinct function, and identifying which one applies is the first step toward a correct and lasting installation. Material choice matters too: aluminum vent caps are lightweight and corrosion-resistant, galvanized steel is durable but can rust if scratched, plastic options are budget-friendly but can become brittle in extreme conditions, and copper is a premium choice that resists algae and lasts decades, making it ideal for historic homes.
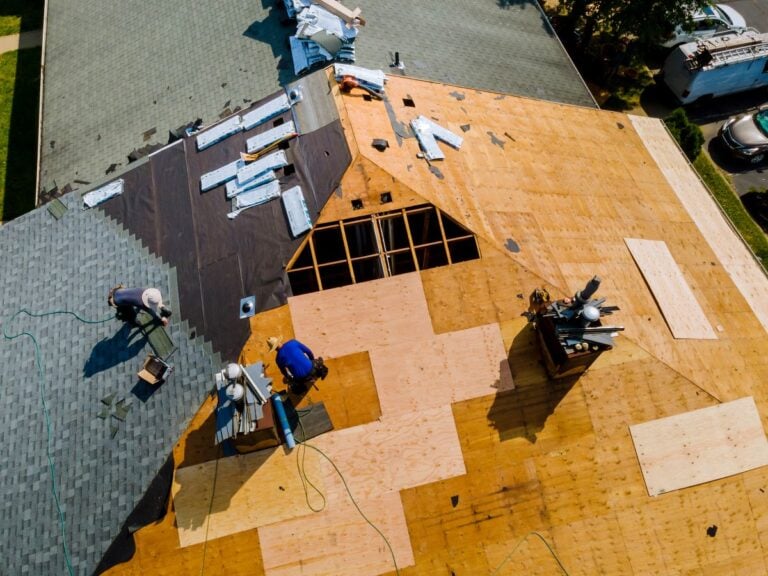
How to Install a Roof Vent Cap: What the Process Actually Involves
Installing or replacing a roof vent cap requires safe roof access, basic roofing tools, and attention to the flashing and sealant work that keeps the installation watertight. The steps below apply to a standard cap replacement on a sloped asphalt shingle roof. Steep pitches, tile roofing, or caps tied into mechanical ductwork typically warrant professional involvement.
- Step one: Assess the existing installation. Identify the cap type, pipe diameter, and condition of surrounding shingles and flashing. Look for cracked caulk, lifted shingles, or rust on metal collars.
- Step two: Remove the old cap carefully. Pry up surrounding shingles without cracking them. Remove old sealant and inspect the pipe and flashing collar underneath.
- Step three: Install weatherproof flashing around the cut opening. The flashing collar sits under the surrounding shingles and over the vent pipe, creating a water-shedding layer. Slide it into position with the upper portion tucking under the shingles above the pipe and press it firmly to seat against the roof deck.
- Step four: Seat and secure the cap. Press the cap over the pipe and onto the collar. Secure with roofing nails or screws at the designated anchor points. Do not over-tighten on plastic caps, which can crack under excess pressure.
- Step five: Apply roofing sealant along the edges of the vent cap. Apply a bead of compatible roofing sealant around the base of the cap where it meets the flashing and at any shingle edges that were lifted during removal. Reapply sealant as needed in future maintenance checks to maintain a watertight barrier. Press shingles back into position and check for gaps.
- Step six: Inspect from the attic after rain. Wait for a rain event and check the attic around the vent penetration for signs of moisture. A properly installed cap and flashing collar will show no water infiltration under normal rain conditions.
Following all six steps carefully protects your home from leaks, maintains efficient airflow through the vent system, and extends the lifespan of both the cap and the surrounding roofing material. If at any point the installation feels uncertain — particularly around flashing integration or duct connections — bringing in a professional ensures the work is done right and backed by a warranty.
Signs Your Roof Vent Cap Needs Attention
Routine inspection catches problems before they escalate into costly repairs. Most homeowners do not think to inspect vent caps until a visible leak or blocked fan prompts the question. Inspect your vent cap at least twice a year and remove debris like leaves and dirt to ensure airflow stays unobstructed.
Visible Deterioration
Cracked, warped, or missing caps are the most obvious indicators. Plastic caps become brittle and crack under prolonged UV exposure or hail impact. Metal caps can rust through at seam and hinge points where water collects. A cap that moves when pressed lightly has likely lost its seal against the flashing collar.
Reduced Airflow from Interior Fans
If your bathroom fan or range hood seems less effective, a clogged or crushed vent cap is one of the first things to investigate. A bird nest, leaf buildup, or collapsed flap can restrict airflow to the point where the fan recirculates air rather than exhausting it outside.
Pest Activity Near Vents
Scratching sounds in the attic, droppings near vent openings, or insects emerging around duct connections indoors all suggest something has gotten past a damaged or missing cap. Prompt replacement prevents a nest or hive from becoming established inside the ductwork.
Your Next Step for a Healthy, Well-Ventilated Roof
Roof vent caps are a small investment in the larger system that keeps your attic dry, your indoor air healthy, and your roofing materials protected. A failed cap creates moisture pathways, invites pests, and undermines the ventilation your home depends on year-round. Whether you are replacing a single cap or want a full ventilation assessment, Roof Troopers serves homeowners throughout Northern Virginia with thorough inspections and honest recommendations. When you are ready to take the guesswork out of your roof’s condition, contact us today and we will tell you exactly what is going on up there.
Don’t pay for your roof until 2027!
0% APR, same as cash for 24 months
Get Started Today!
"*" indicates required fields